Joana Doce
Easy, Delicious, Gluten - Free Recipes Anyone Can Make
Recipe Posts
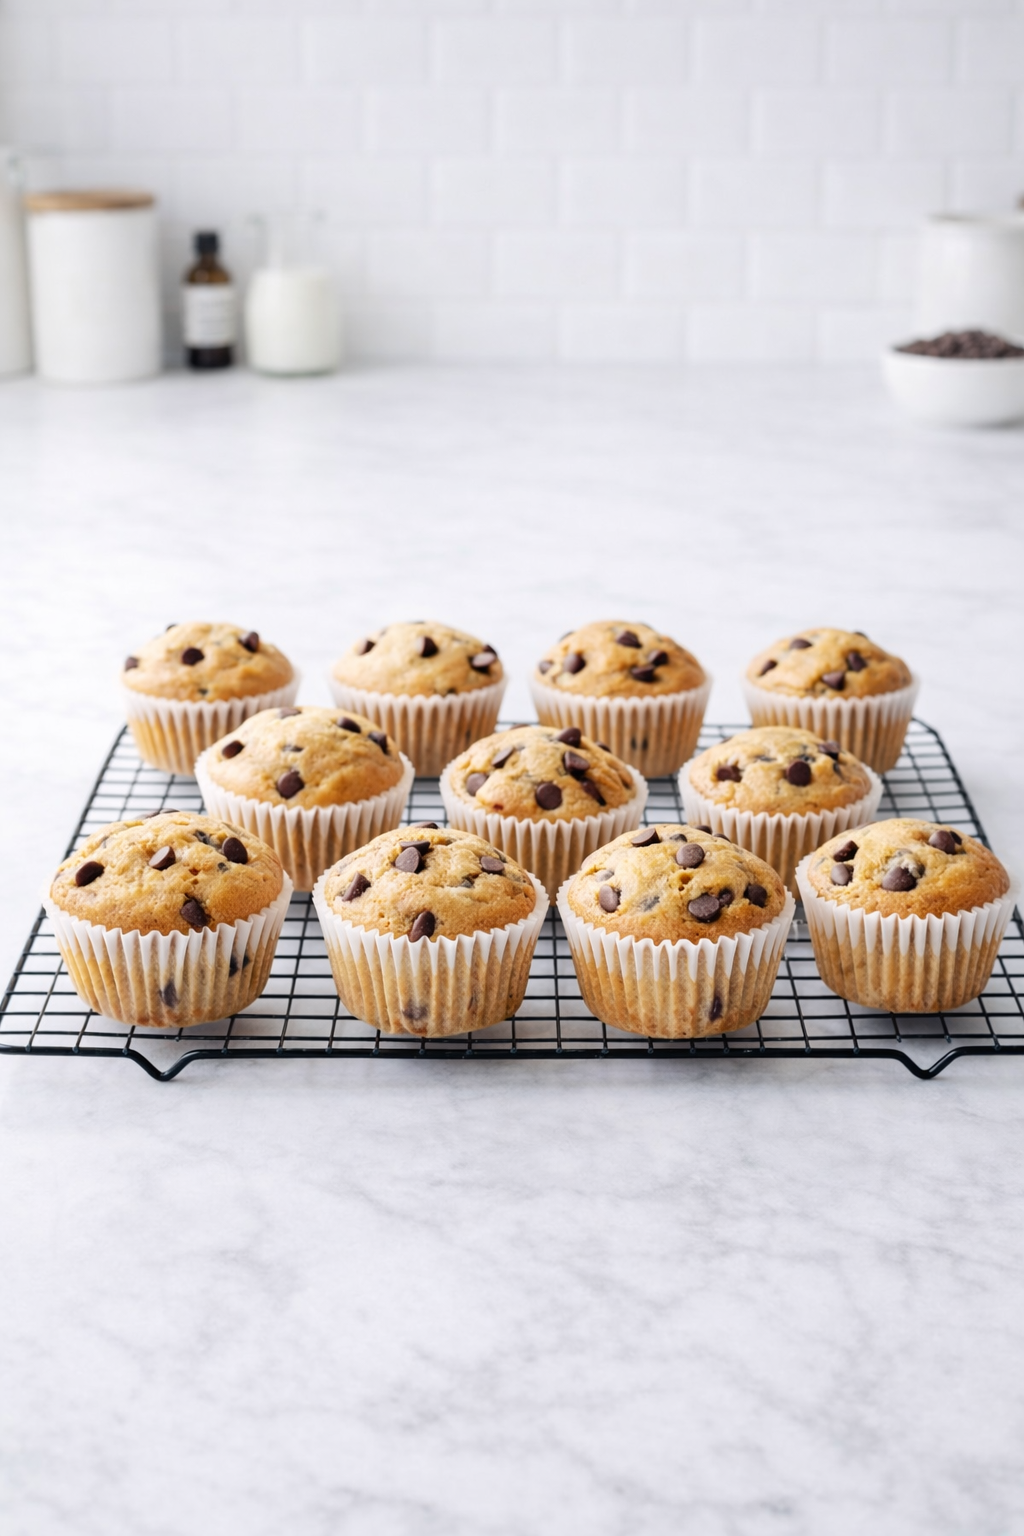
Chocolate Chip Cupcakes
Ingredients
1 ½ cups all-purpose gluten-free flour
1 ½ teaspoons gluten-free baking powder
¼ teaspoon salt (optional)
¼ cup unsalted butter, softened to room temperature
¼ cup canola or vegetable oil
1 cup granulated sugar*
3 large eggs
1 ½ teaspoons pure vanilla extract. 1 cup buttermilk, sour cream, or heavy cream
1 cup gluten-free chocolate chips
Instructions
Preheat oven to 350°F (180°C). Line a 12-cup muffin tin with cupcake liners.
In a medium bowl, sift together the flour, baking powder, and salt. Set aside.
Separate the eggs. Place the yolks in one bowl and the whites in another.
In a mixing bowl fitted with the paddle attachment, beat the butter, oil, and sugar on medium speed for about 4 minutes, until light and fluffy. Scrape down the sides as needed.
Add the egg yolks and vanilla extract. Beat until fully combined.
On low speed, add the flour mixture in 3 additions, alternating with the buttermilk in 2 additions, starting and ending with the flour. Mix just until combined. Do not overmix.
In a clean bowl, beat the egg whites until they form soft peaks.
Gently fold the whipped egg whites into the batter using a spatula. Fold carefully to keep the mixture airy.
Fold in the chocolate chips, mixing just until distributed.
Divide the batter evenly between the cupcake liners, filling each about ¾ full.
Bake for 18–22 minutes, or until a toothpick inserted into the center comes out clean.
Allow cupcakes to cool completely on a wire rack before serving.
Creamy Biscuit Layer Cake

Ingredients
Cream Layer
• 200 g unsalted butter, softened
• 1 cup sugar
• 1 can (300 ml) heavy cream
Layers
• 300 g honeygrams biscuits
→ Use your favourite gluten-free biscuits if needed
• ½ cup milk for dipping
Optional toppings
• Chocolate drizzle, cocoa powder or shaved chocolate
→ I used Gluten-free Lindt couvertures chocolate.
How to Make It
• Beat butter and sugar together until pale and fluffy
• Add heavy cream and mix gently until smooth
• Lightly dip each biscuit in milk, just to soften
• Layer: biscuits → cream (repeat until done)
• Finish with cream or chocolate topping
• Chill for 4–5 hours (or in the freezer until cold)
Tips
• Overnight chilling gives the perfect soft-layer texture
• Decorate with holiday sprinkles for a festive version.
• Store covered in the fridge for up to 3 days
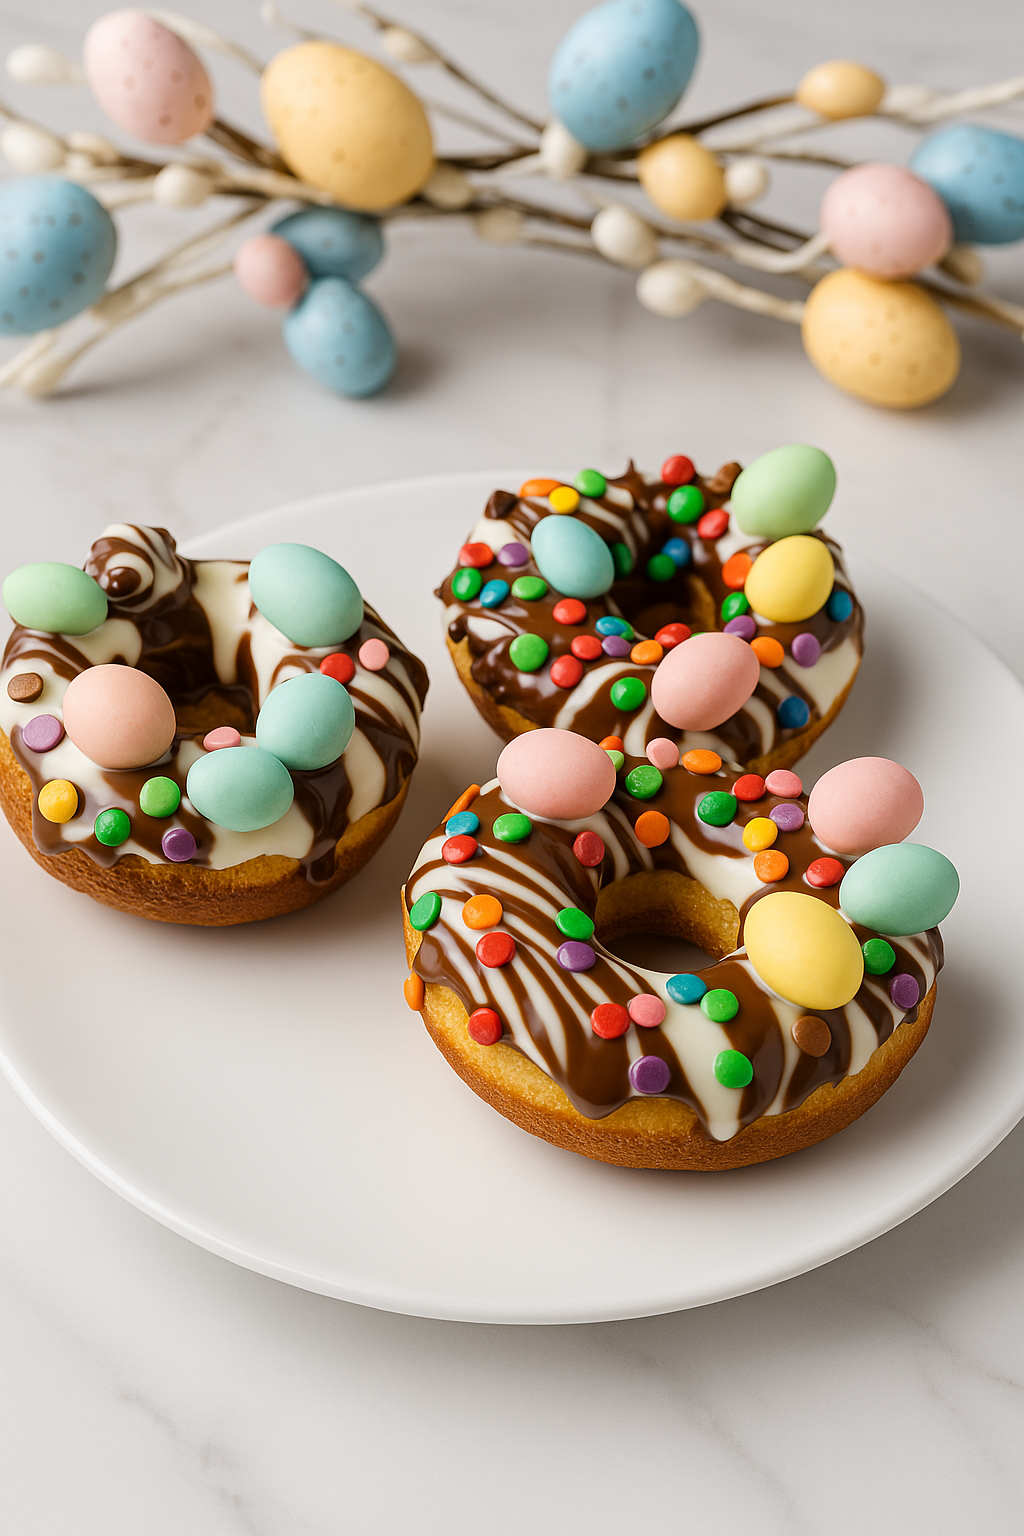
Easy Gluten - Free Donuts
Ingredients:
For the Dough:
3½ cups (490g) gluten-free 1:1 flour blend
1 cup (200g) granulated sugar
1¾ tsp baking powder
2 tbsp + 1½ tsp (24g) instant yeast
1 tsp salt
1 tsp of vanilla extract
1½ cups (360ml) whole milk (or dairy-free alt)
¾ cup (169g) melted butter (you can use dairy-free)
2 large eggs, room temp
Optional:
2 tbsp whole psyllium husks (or 1½ tbsp psyllium husk powder) for extra structure
Instructions:
1. Make the Dough
In a stand mixer, add milk first, then all other ingredients.
Using the dough hook, knead for 5 minutes on medium. The dough will be sticky.
Scrape down the sides, cover, and refrigerate overnight (cold proof).
2. Shape the Donuts
Take dough from the fridge, knead gently on a floured surface until smooth.
Roll out to ½ inch thick and cut using a donut cutter (or biscuit cutter).
Place each donut on a square of parchment paper on a baking tray.
Cover and let rise until slightly puffy (not quite doubled).
To Fry in Oil:
Heat oil to 320–330°F in a deep fryer or heavy pot.
Carefully place donuts (with parchment) into hot oil.
Use tongs to remove the parchment.
Fry 1–2 minutes per side, longer if there's no center hole.
Transfer to a wire rack to cool.
To Air Fry:
Preheat the air fryer to 350°F.
Place donuts (still on parchment) in a single layer.
Air fry for 4 minutes (adjust as needed per your air fryer).
To Finish:
Melt butter with a splash of vanilla extract.
Dip warm donuts into butter, then roll in:
Sugar, powdered sugar, or cinnamon sugar OR
Dip in melted chocolate and top with sprinkles (your version!)
Tips:
Best enjoyed fresh, but you can store them covered for 1 day.
To reheat: microwave for 15 seconds.
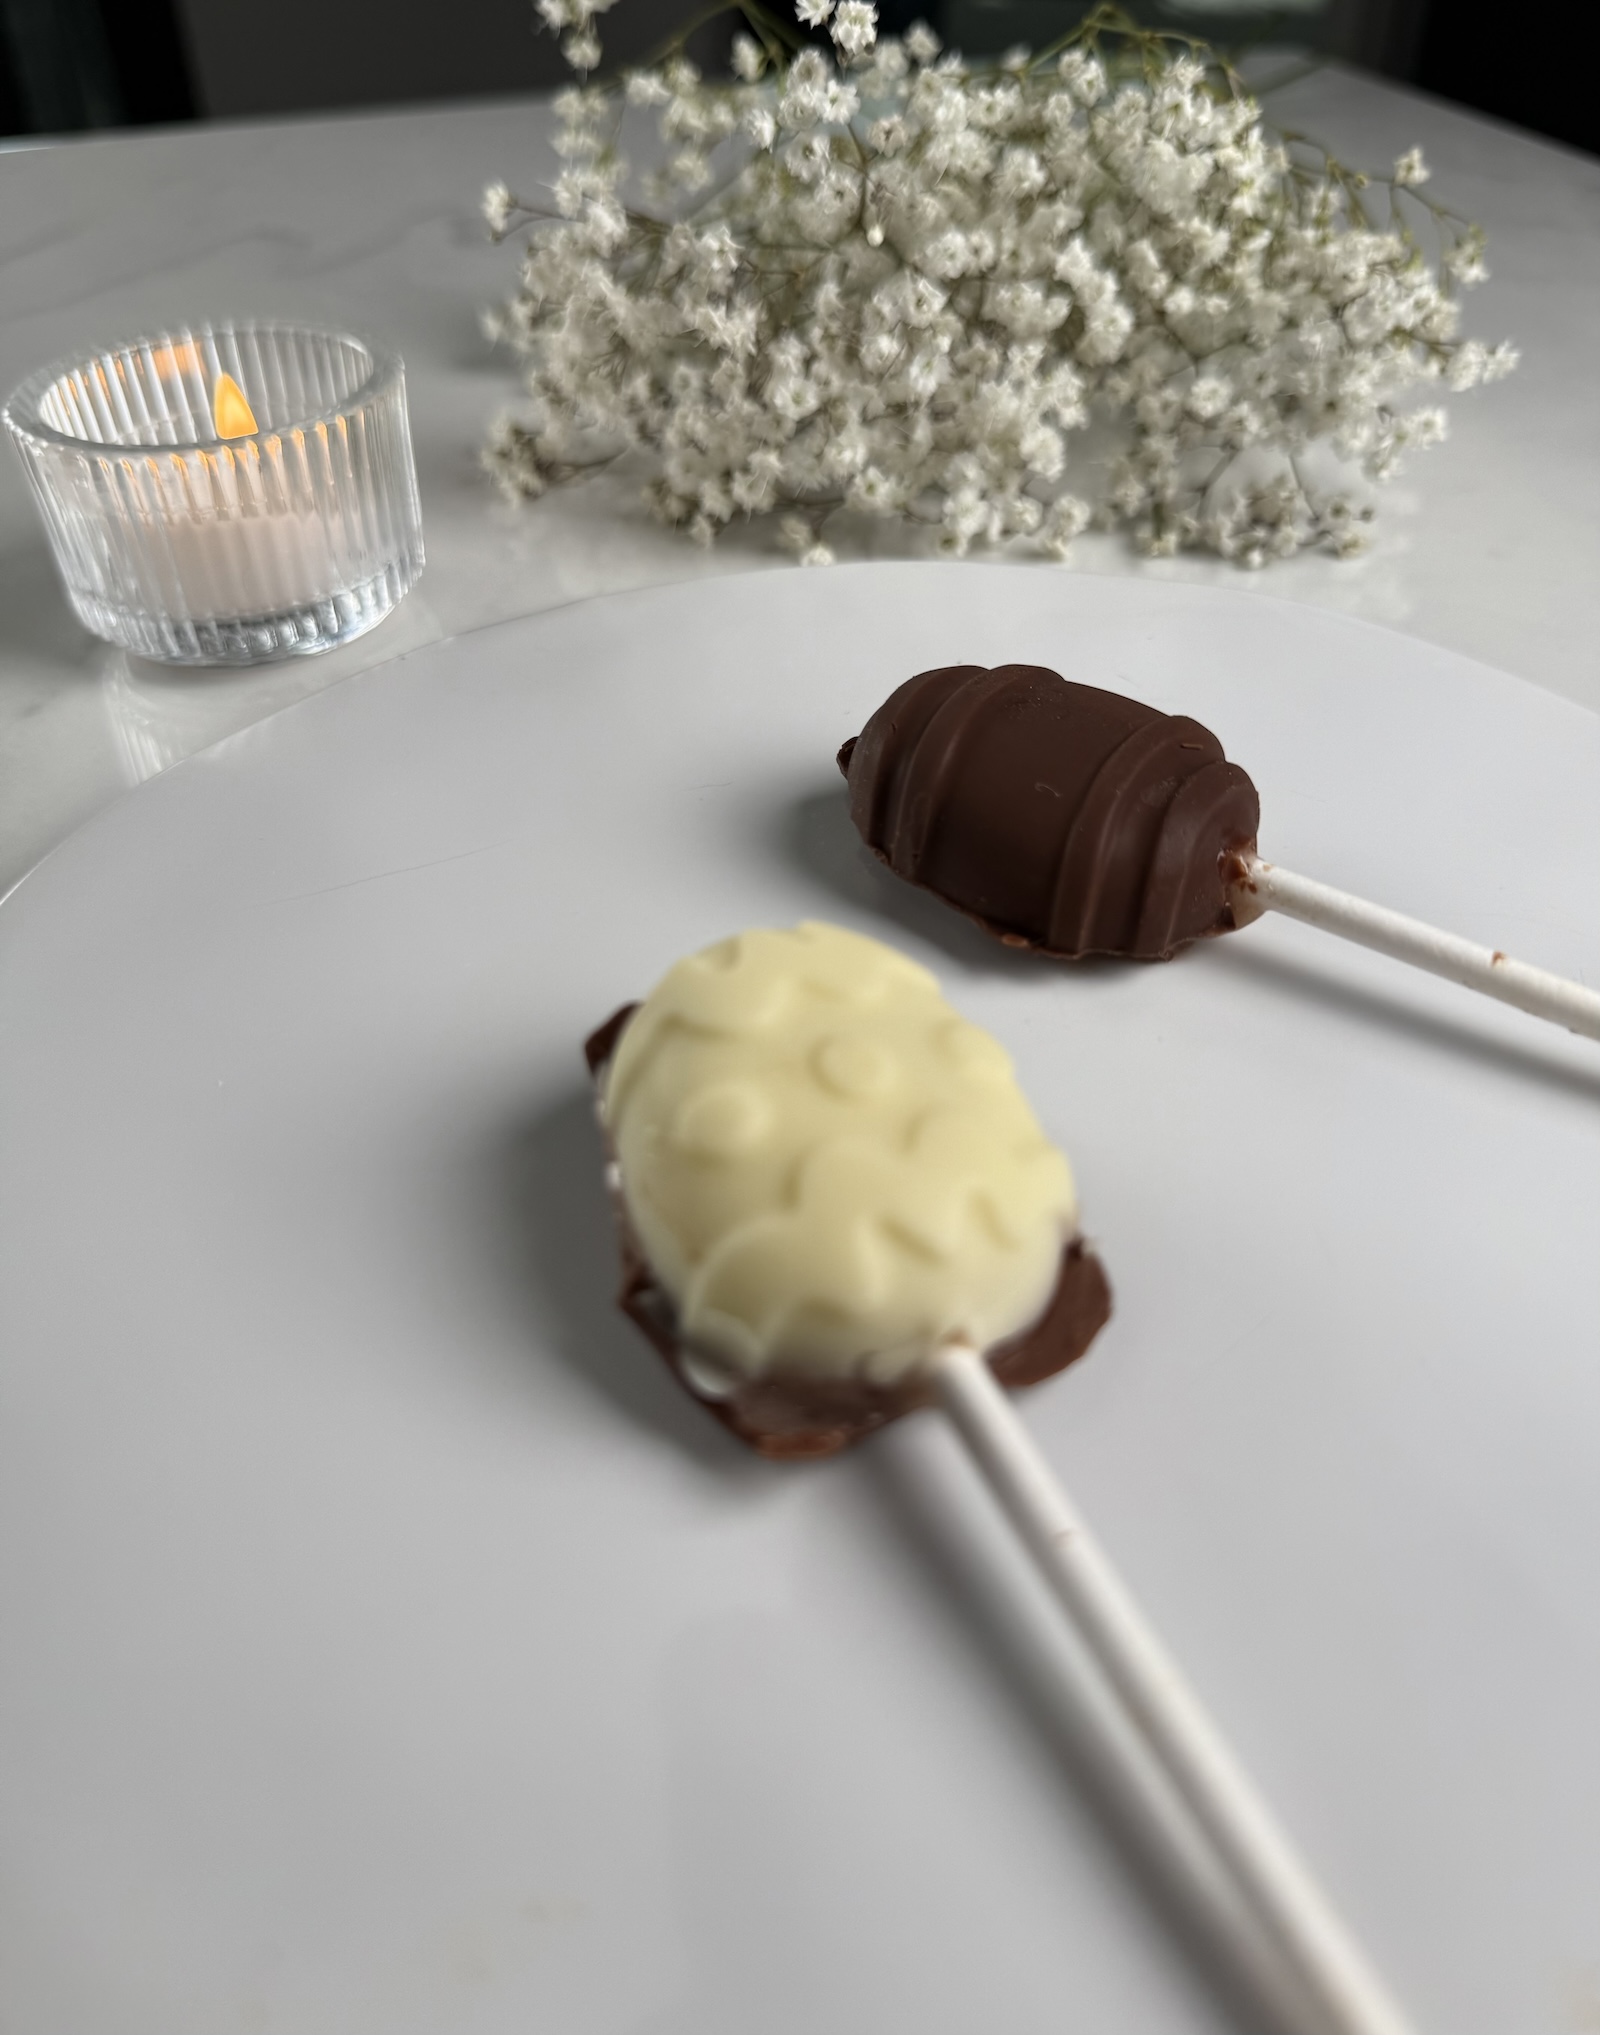
Gluten-Free Chocolate-Covered Easter Egg Popsicles
Ingredients:
1 ripe banana
4–5 fresh strawberries
1–2 tbsp maple syrup (to taste)
150g melted chocolate (gluten-free certified)
Instructions:
Blend the Fruit Filling:
In a blender, combine the banana, strawberries, and maple syrup. Blend until smooth and creamy. Set aside.Prepare the Chocolate Shells:
Pour a little melted chocolate into each cavity of your Easter egg-shaped popsicle mold. Use the back of a spoon or brush to coat the sides evenly.
Place the mold in the freezer for 10 minutes, then repeat the coating process one more time for a thicker shell. Freeze again for another 10 minutes.Fill the Eggs:
Pour the strawberry-banana mixture into the chocolate shells, leaving a little space at the top. Freeze for 1 hour, or until mostly solid.Seal with Chocolate:
Cover the top of each popsicle with a final layer of melted chocolate to seal the filling in.
Freeze for at least 30 minutes, or until completely set.Unmold & Enjoy:
Carefully remove the popsicles from the mold — and voilà! A fruity, creamy center wrapped in a rich chocolate shell.
Tips:
Make it dairy-free by using dairy-free chocolate.
You can also add a popsicle stick before freezing the fruit layer, for easier handling.
Always check your chocolate is certified gluten-free
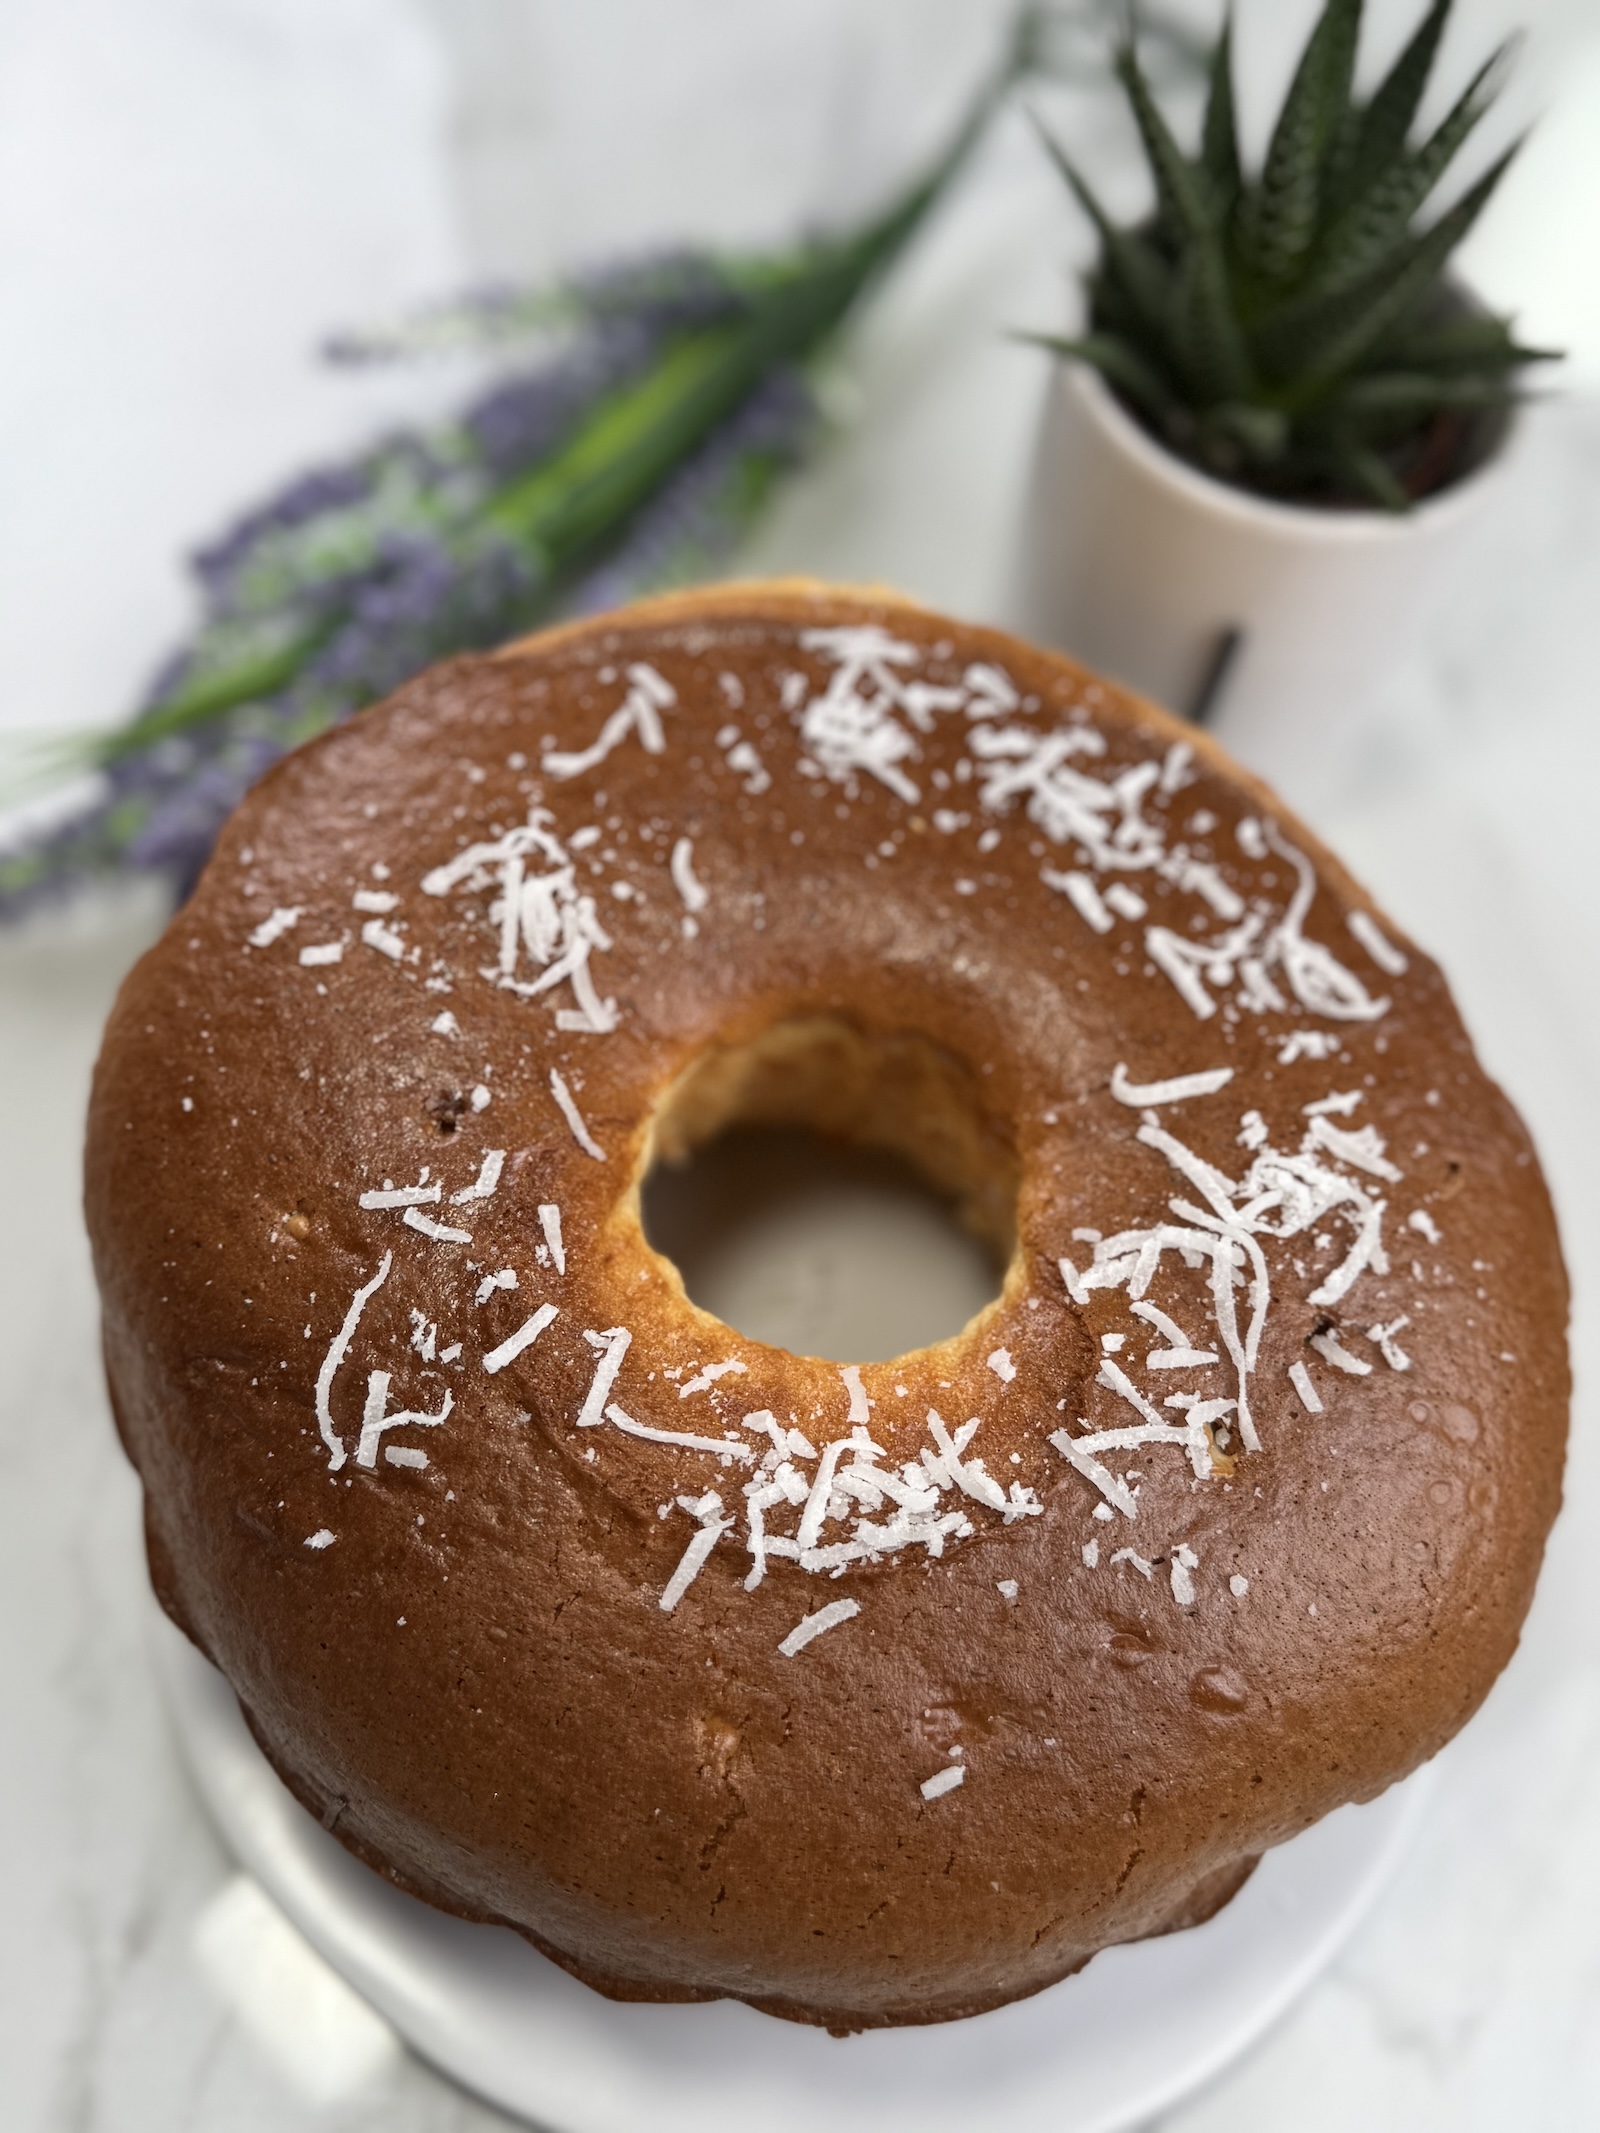
Fluffy Gluten-Free Coconut Cake
Ingredients:
3 eggs (separated)
1 can of condensed milk (approximately 395g)
200g of gluten-free flour or amido de milho (cornstarch)
75g of shredded coconut
1 tablespoon of baking powder
Instructions:
Preheat & Prepare:
Preheat your oven to 180°C (350°F) and grease a baking dish.Beat Egg Whites:
In a clean, dry bowl, beat the egg whites until stiff peaks form. Set aside.Mix Yolks & Condensed Milk:
In another bowl, whisk together the egg yolks and the condensed milk until smooth and creamy.Add Flour:
Gradually add the gluten-free flour or amido de milho in two batches, mixing gently until well incorporated.Fold in Coconut & Egg Whites:
Add the shredded coconut and gently fold in the beaten egg whites until the mixture is smooth and airy.Add Baking Powder:
Add the baking powder and mix until just combined.Bake:
Pour the batter into the prepared dish and bake for 30-40 minutes or until a toothpick inserted into the center comes out clean.Cool & Serve:
Let it cool before slicing. Enjoy this soft, fluffy, and perfectly delicious gluten-free cake!
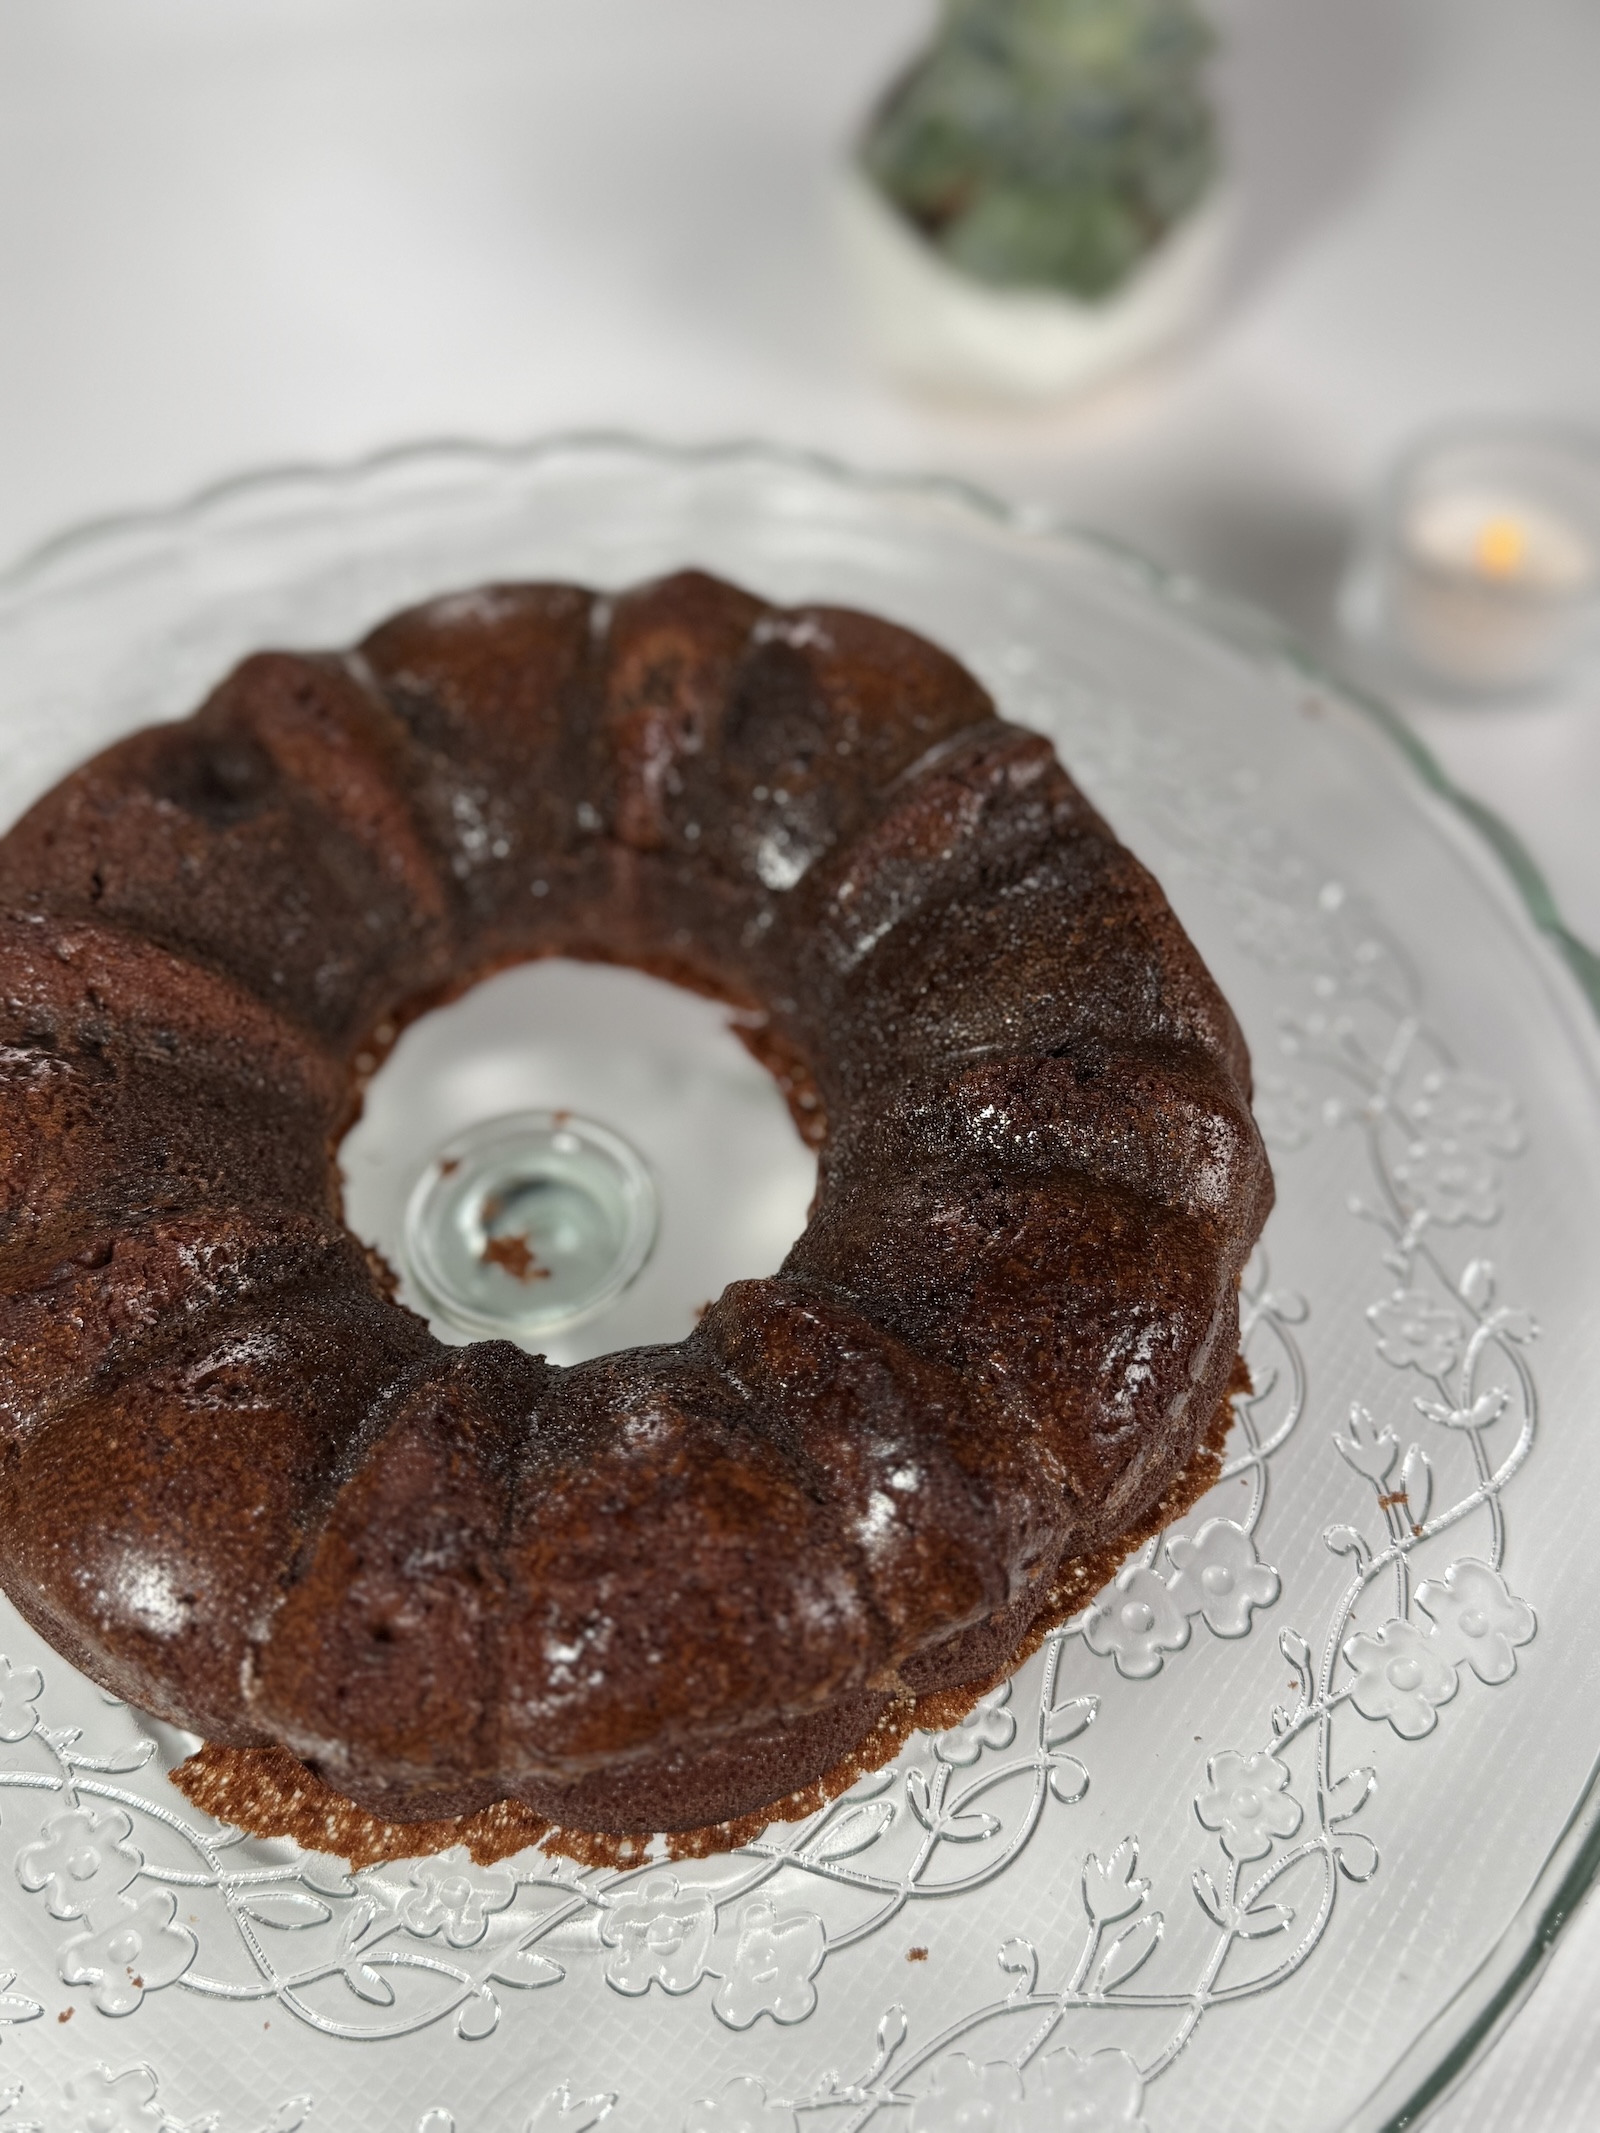
Gluten-Free Carrot Cake Recipe
Ingredients:
2 large carrots (or 2-3 small ones)
4 eggs
1 cup sugar (200ml)
1 cup milk
½ cup oil
3 cups gluten-free flour
10g baking powder
10g vanilla extract
Instructions:
Blend the Wet Ingredients:
In a blender, combine the carrots, eggs, sugar, milk, and oil.
Blend until you achieve a smooth and creamy mixture.
Incorporate the Dry Ingredients:
Transfer the mixture to a bowl.
Add the gluten-free flour, baking powder, and vanilla extract.
Stir well until fully combined.
Prepare the Baking Pan:
Grease and flour a baking pan (use gluten-free flour).
Pour the batter evenly into the pan.
Bake:
Preheat the oven to 350°F (180°C).
Bake for approximately 45 minutes.
After 30 minutes, do the toothpick test—insert a toothpick into the center, and if it comes out clean, the cake is ready!
Serve & Enjoy:
Let the cake cool before slicing.
Tip: Serve with a rich chocolate sauce for an extra indulgent touch!
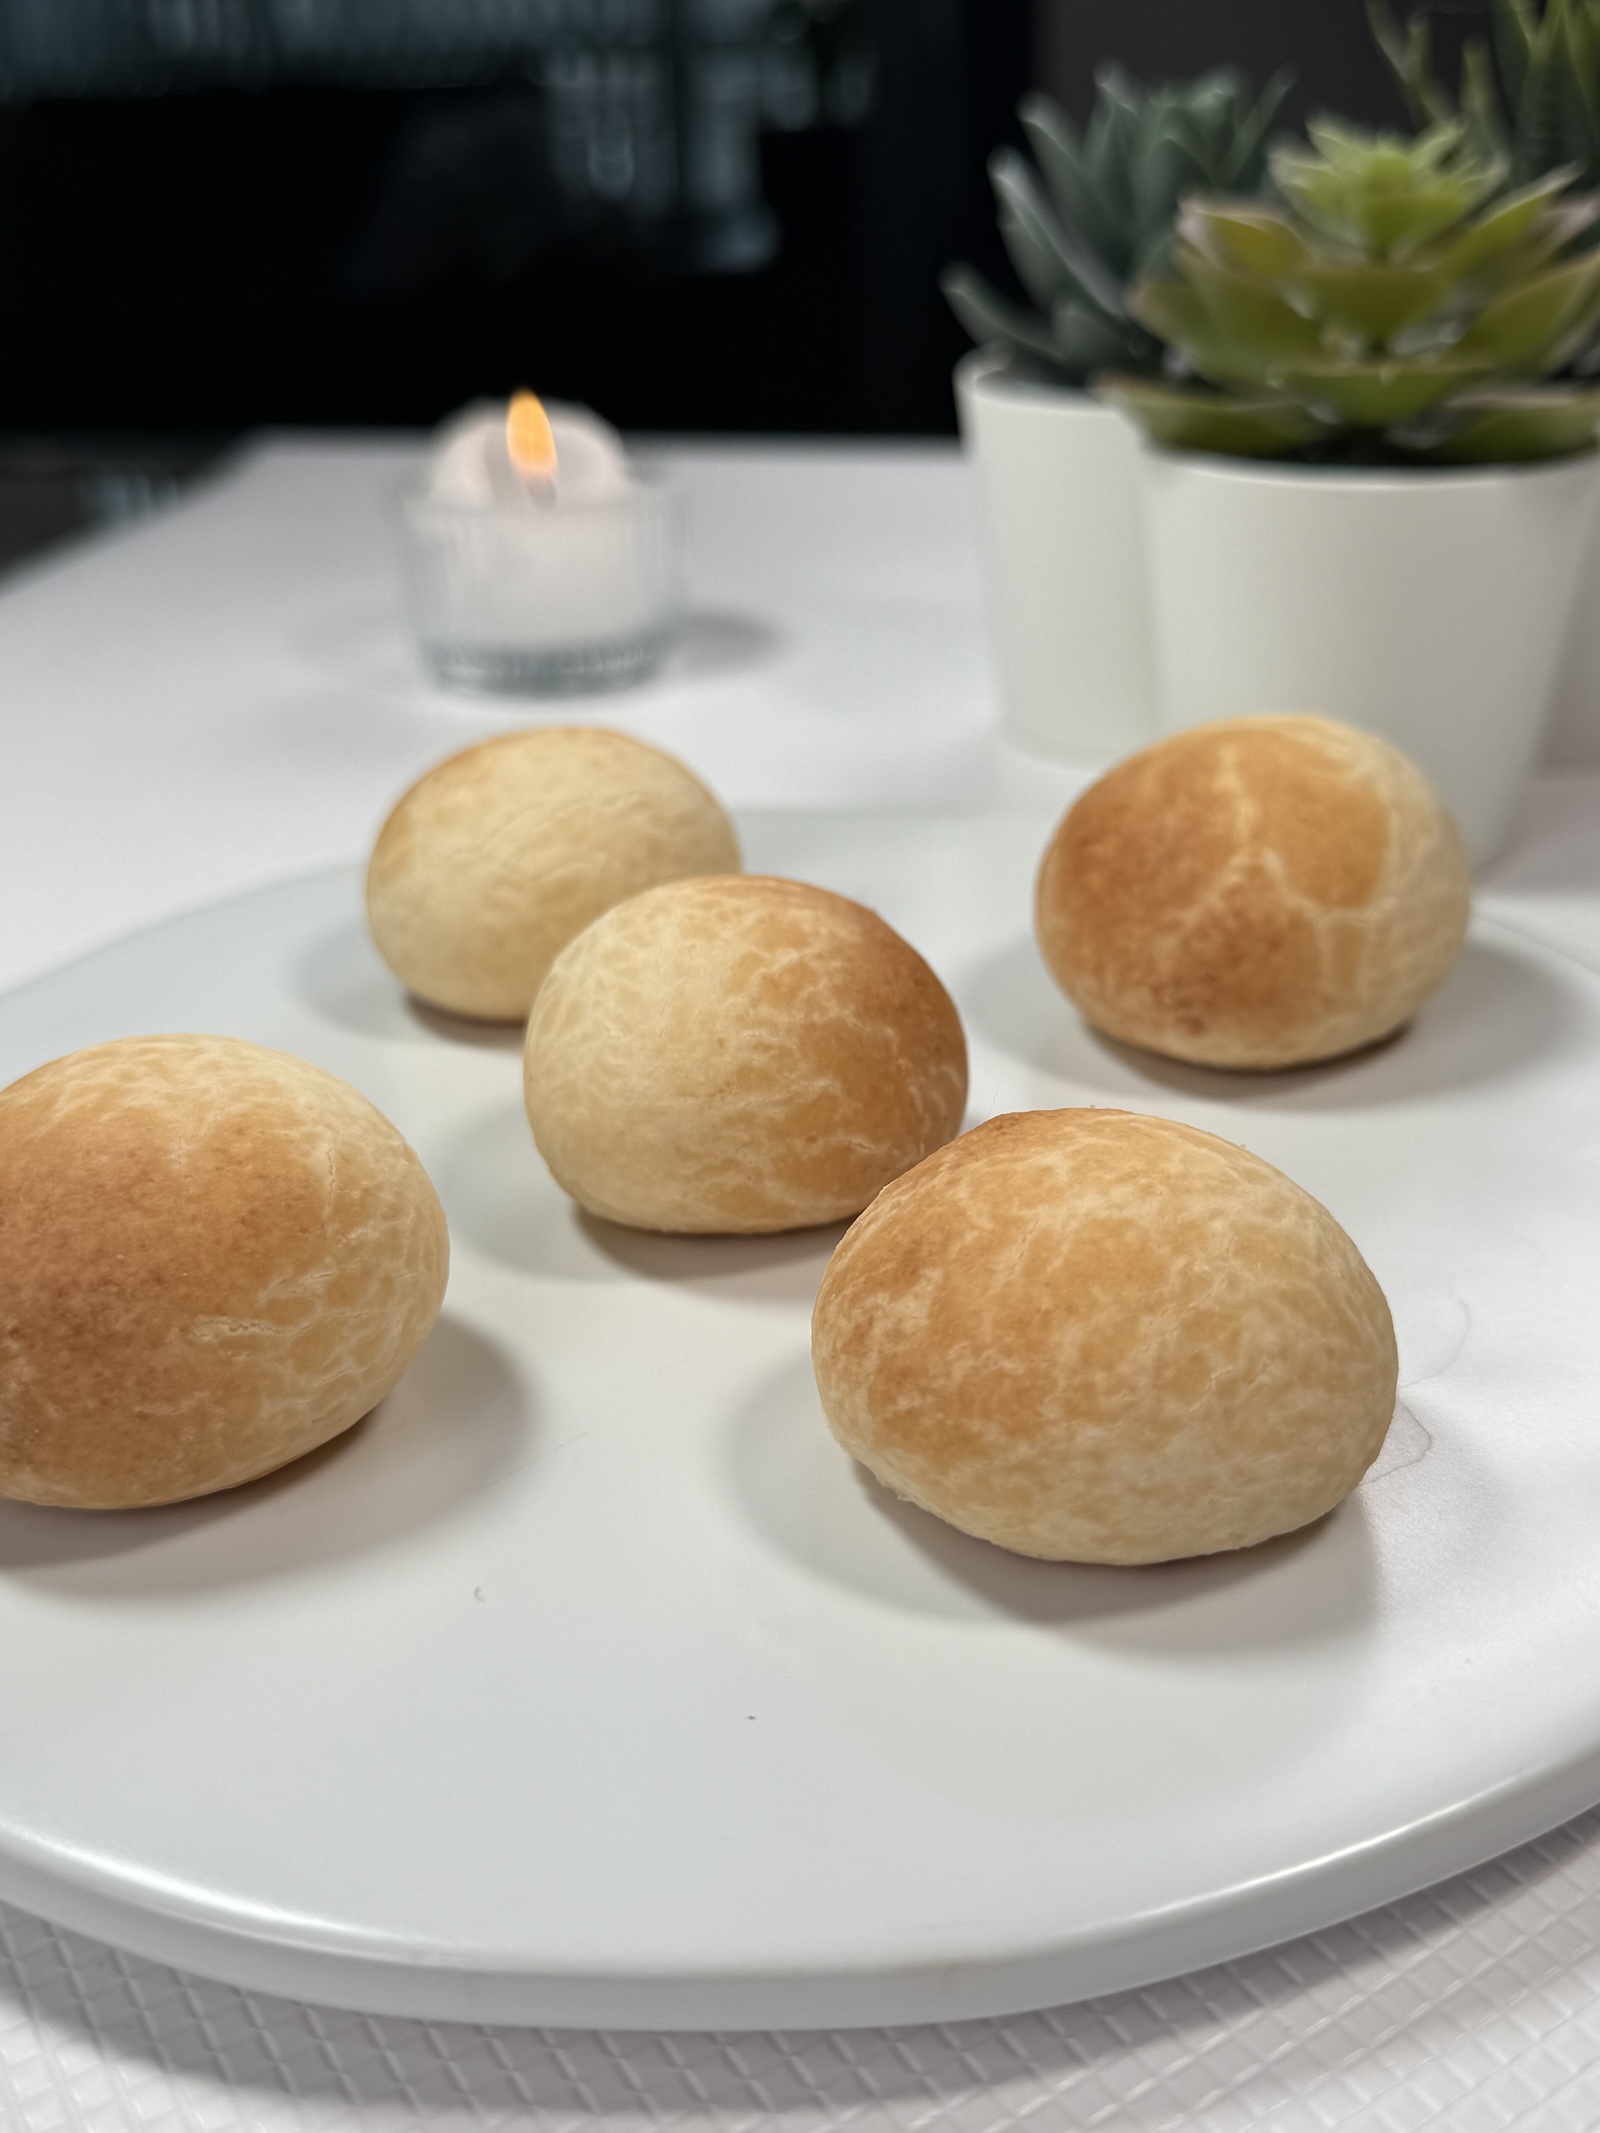
3 Ingredient Gluten-Free Cheese Balls
Ingredients:
1 cup parmesan cheese (grated)
1 cup tapioca flour
¾ cup creamy cheese spread
Instructions:
Preheat the Oven:
Set your oven to 350°F (180°C) and line a baking sheet with parchment paper.
Mix the Dough:
In a bowl, combine the parmesan cheese, tapioca flour, and creamy cheese spread.
Mix well until a smooth, slightly sticky dough forms.
Shape the Balls:
Take small portions of dough and roll them into bite-sized balls.
Place them on the lined baking sheet, leaving a little space between each.
Bake:
Bake for 15 minutes or until the cheese balls are golden and slightly crispy on the outside.
Cool & Enjoy:
Let them cool slightly before serving.
Enjoy warm for the best gooey texture!
💡 Tip: Serve with your favorite dipping sauce or enjoy them on their own for a cheesy, gluten-free treat! 😋
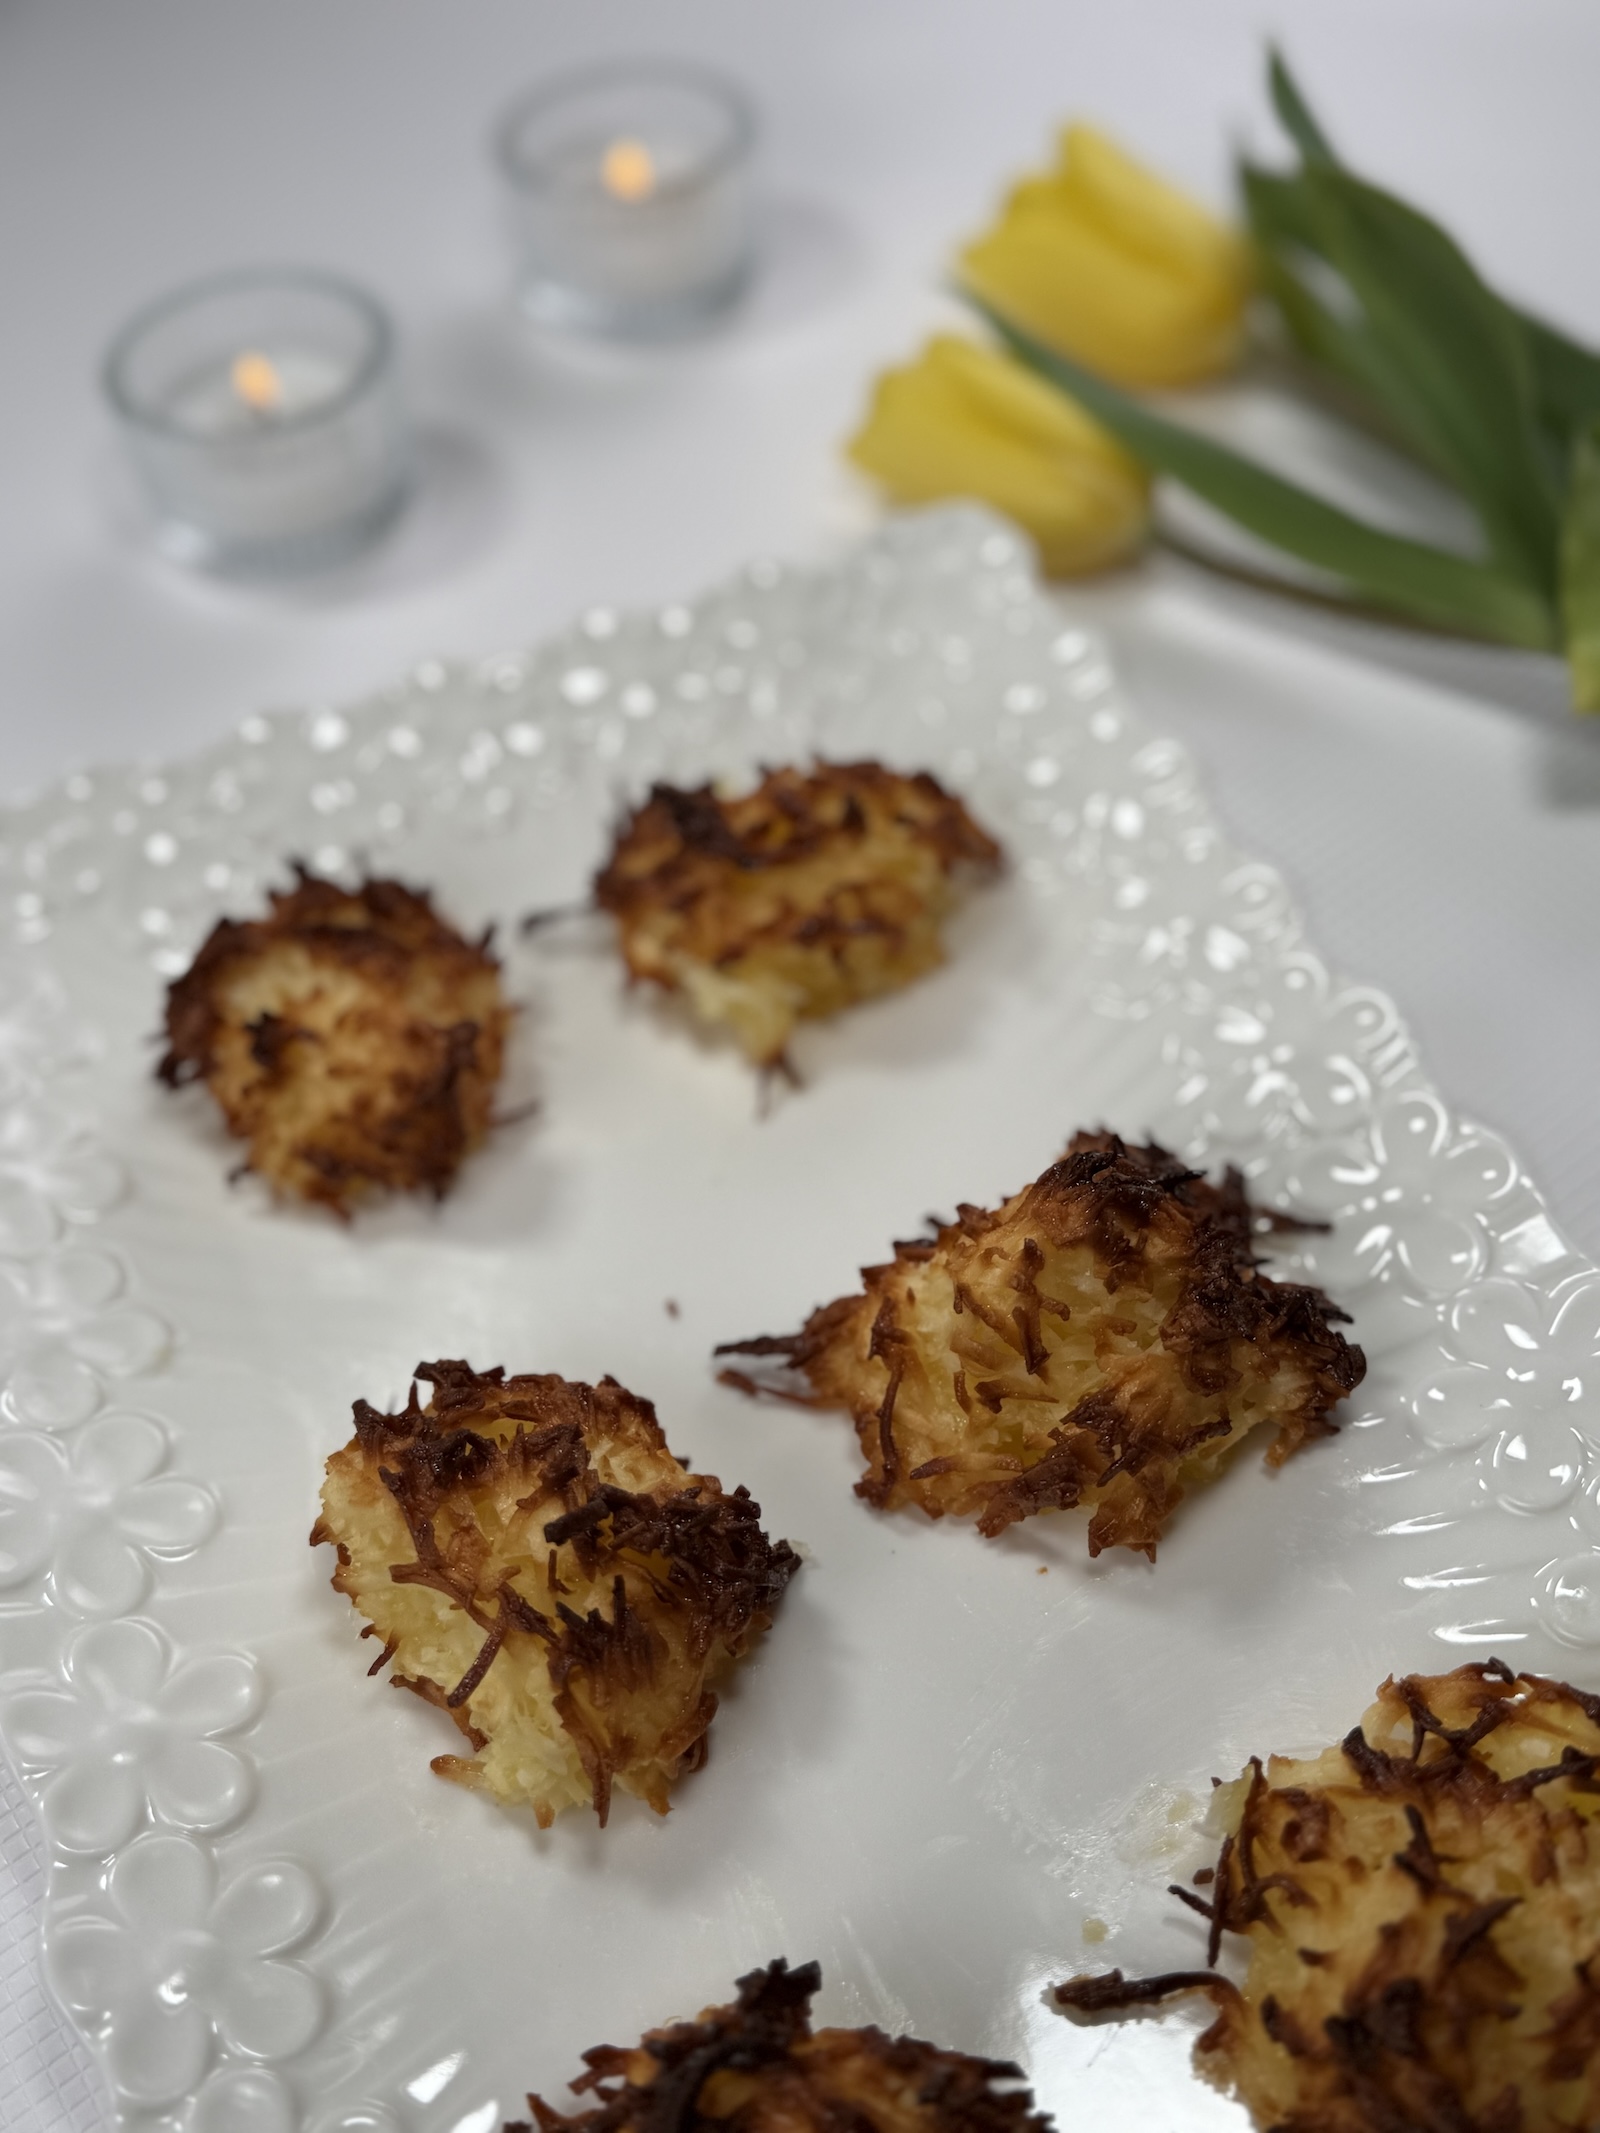
Gluten-Free Coconut Treats
Ingredients:
200 grams shredded coconut
2 eggs
60 grams Greek yogurt
Instructions:
Prepare the Dough:
In a mixing bowl, combine the shredded coconut, eggs, and Greek yogurt.
Stir well until the mixture forms a sticky dough.
Shape the Treats:
Scoop small portions and roll them into bite-sized balls.
If the mixture feels too sticky, refrigerate for 10 minutes before shaping.
Air Fry:
Preheat the air fryer to 350°F (175°C).
Arrange the coconut balls in the air fryer basket, leaving space between them.
Cook for 15 minutes or until golden brown.
Cool & Serve:
Let them cool for a few minutes before serving.
Enjoy them warm or at room temperature!
Optional: Drizzle with melted dark chocolate or sprinkle with extra coconut for a delicious finishing touch!
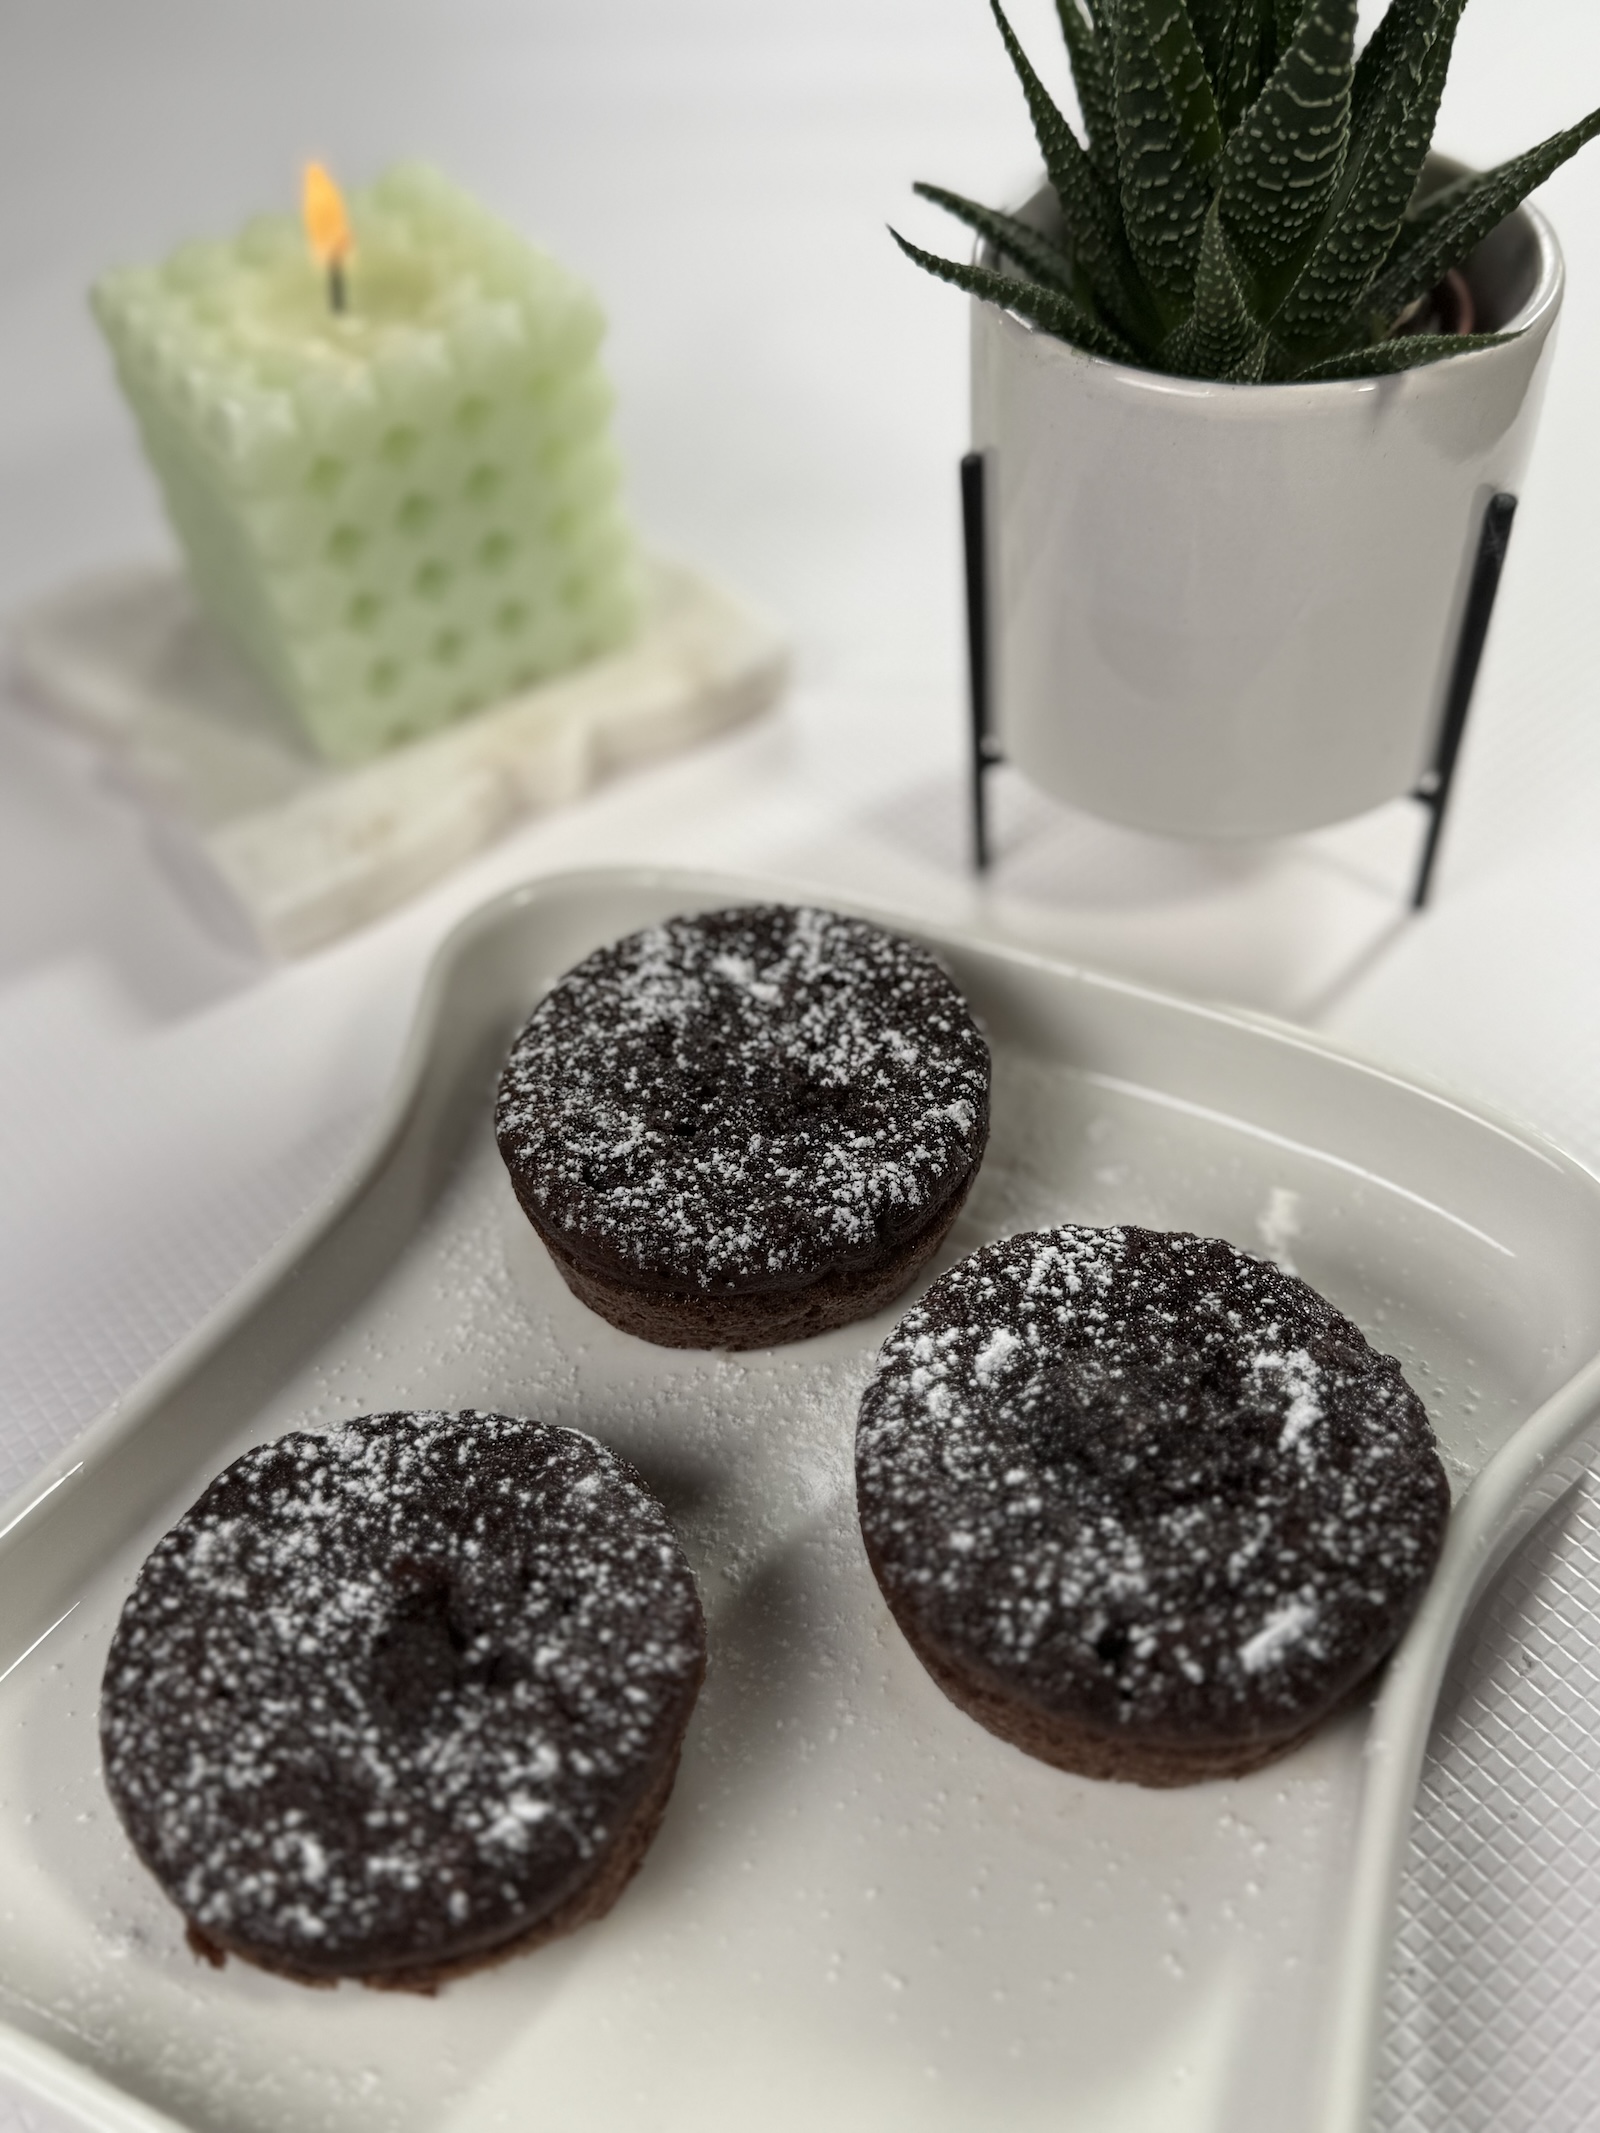
Gluten-free Sugar Free Cupcakes
Ingredients:
• 2 eggs
• ¼ cup unsweetened shredded coconut
• 2 tbsp 100% cocoa powder
• 1 tbsp coconut oil
• ½ cup raisins (use 1 cup for extra sweetness)
• ¼ cup water
• 1 tsp baking powder
Instructions:
1. Blend all ingredients in a blender until smooth.
2. Pour the mixture into muffin molds or small baking cups.
3. Bake in a preheated oven at 180°C (350°F) for 10 minutes.
4. Let them cool slightly and enjoy!
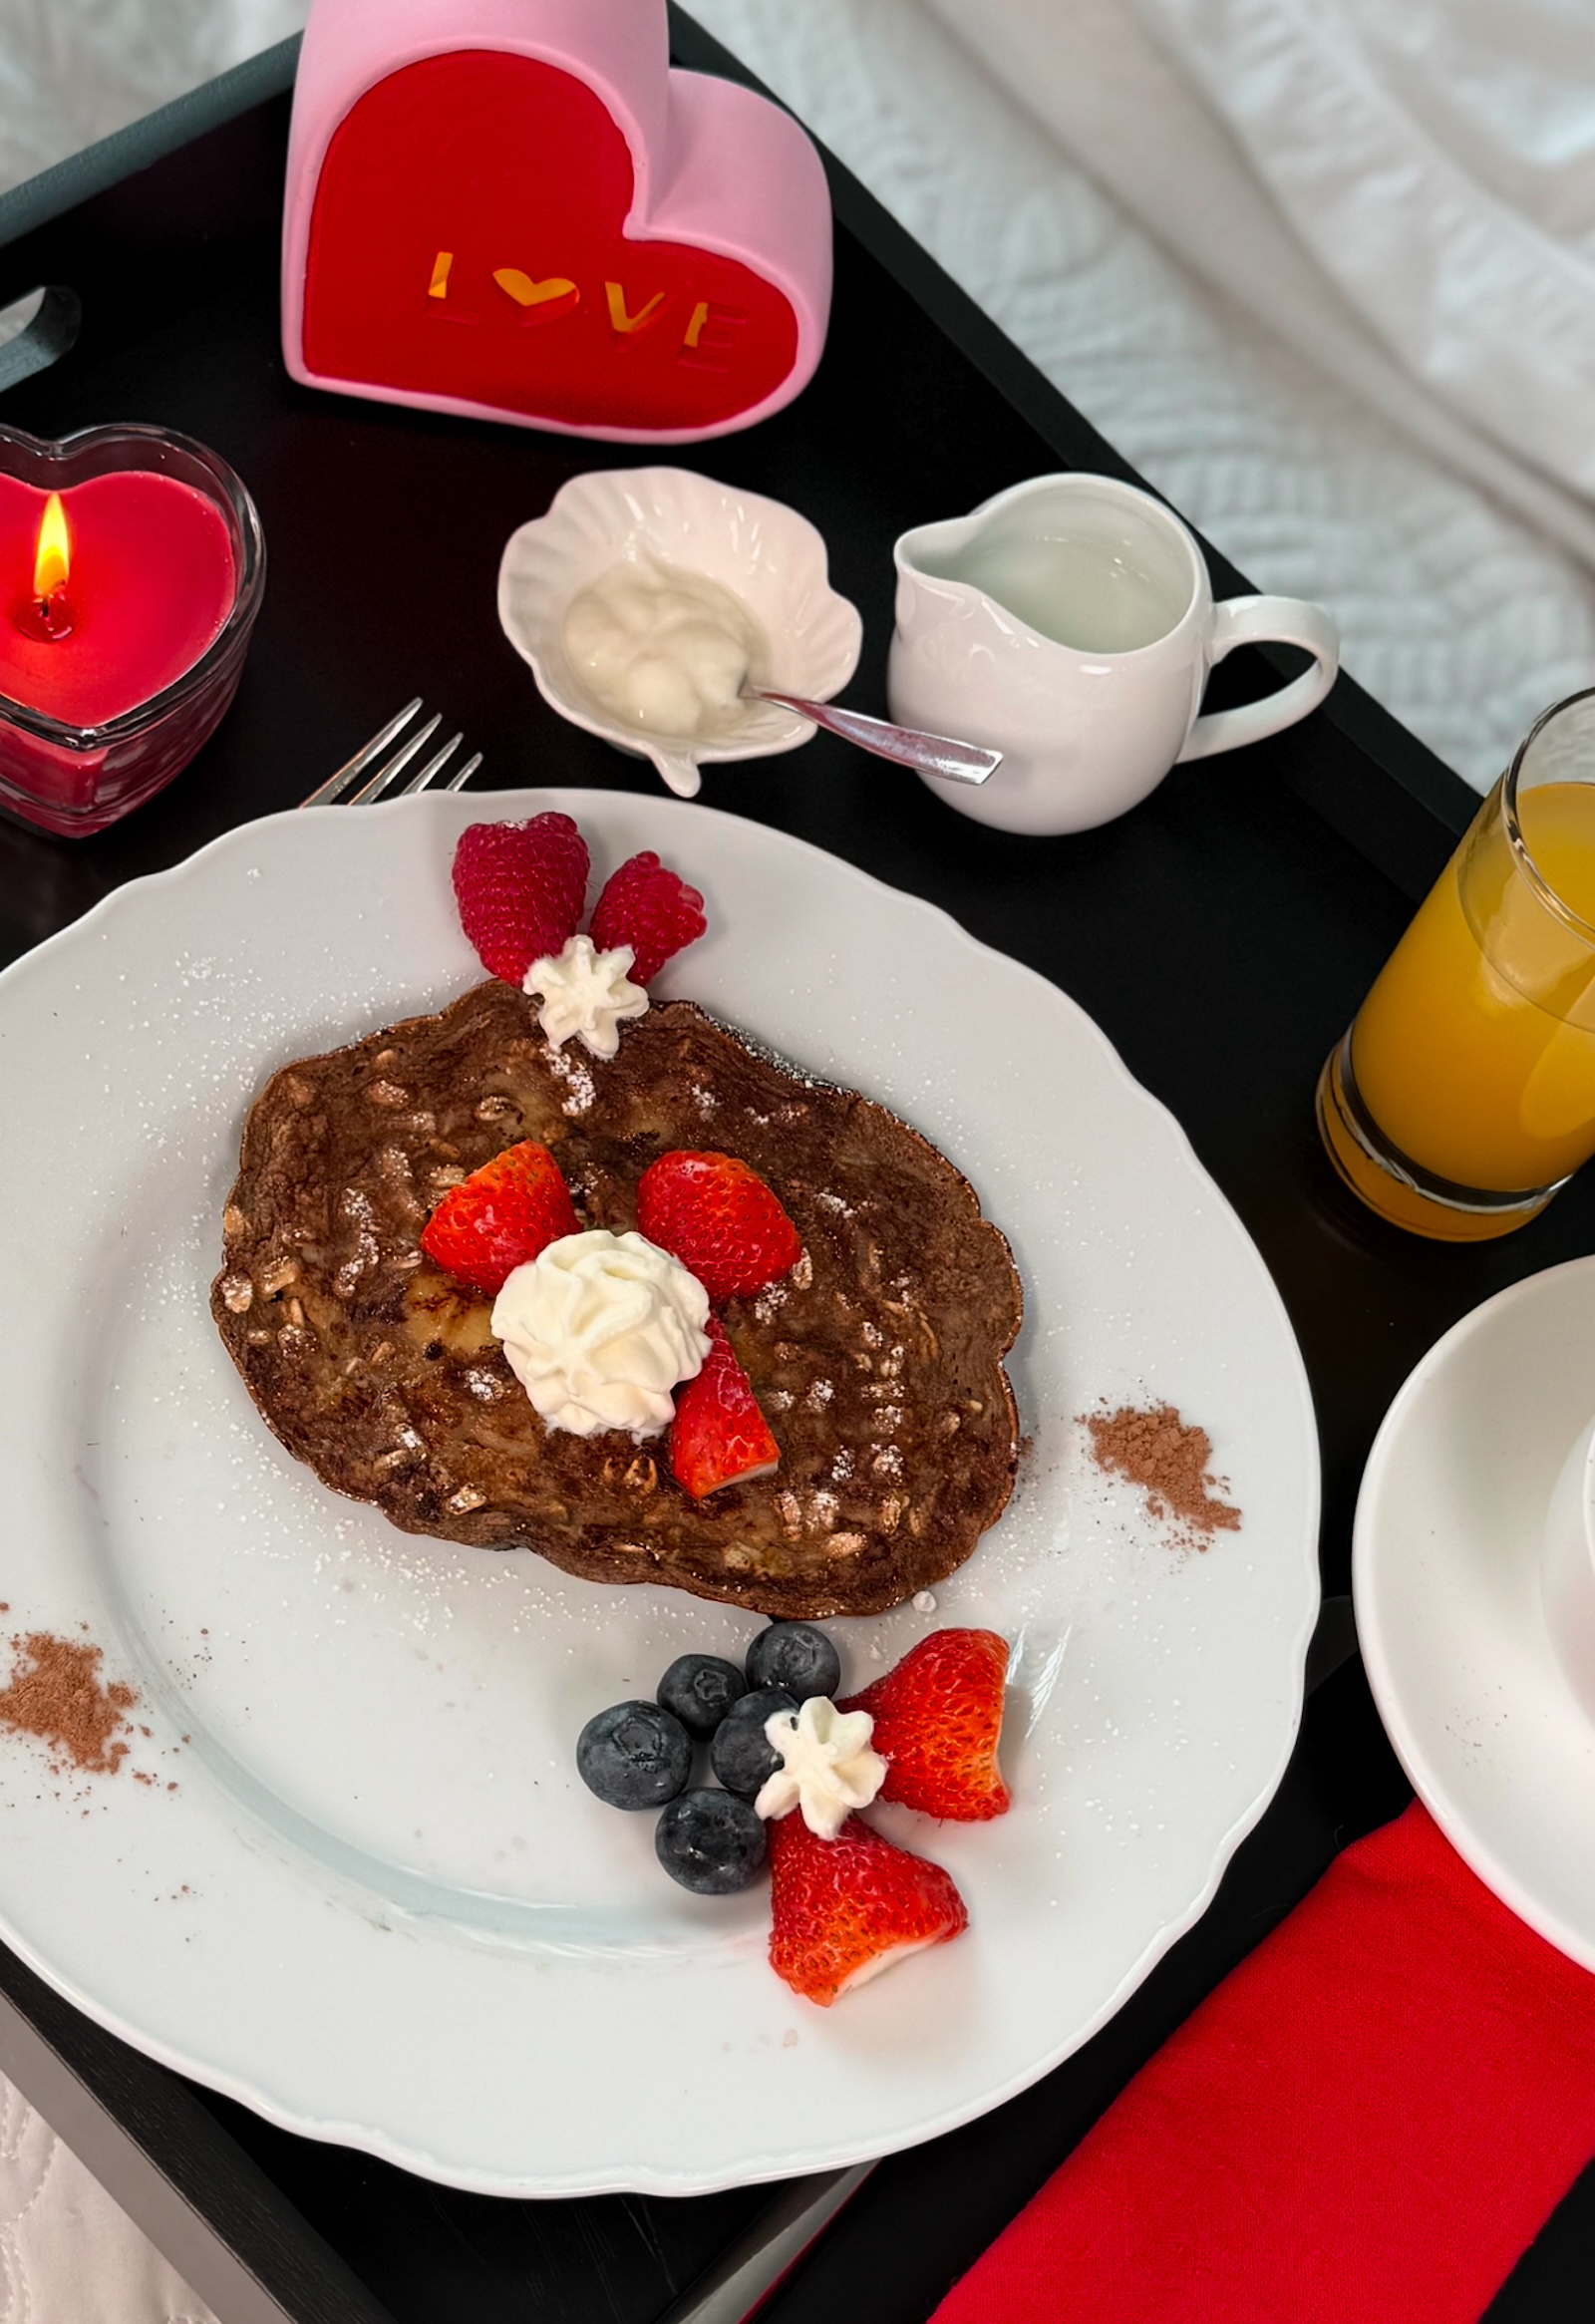
Gluten-Free Chocolate Banana Pancakes
Ingredients:
1 ripe banana
2 large eggs, lightly beaten
⅛ teaspoon baking powder (for fluffier pancakes)
⅛ teaspoon salt
¼ teaspoon vanilla extract
1 tablespoon cocoa powder
1 tablespoon honey
½ cup granola
Butter or oil (optional, for cooking)
Maple syrup, jam, powdered sugar, or other toppings of choice
Instructions:
Mash the banana in a bowl until smooth, leaving a few small lumps for texture.
Whisk in the eggs until fully combined.
Add the remaining ingredients (baking powder, salt, vanilla extract, cocoa powder, and granola) and mix until well incorporated.
Heat a non-stick pan or griddle over medium heat. Lightly grease with butter or oil if needed.
Pour small amounts of batter (about 2 tablespoons per pancake) onto the heated pan.
Cook for about 1 minute, until the edges look set and bubbles start to form on the surface.
Sprinkle toppings like extra granola, chocolate chips, or nuts if desired.
Flip the pancakes carefully and cook for another 1-2 minutes until golden brown and cooked through.
Repeat with the remaining batter.
Serve warm with your favorite toppings like maple syrup, fresh fruit, or a dusting of powdered sugar.
Recipe Notes:
Leftover pancakes: Store in an airtight container in the refrigerator for up to 3 days. Reheat in the microwave in 30-second bursts until warm. While best enjoyed fresh, they still make a great snack!
Make it extra indulgent: Serve with a drizzle of melted chocolate or nut butter.
Customize it: Add a pinch of cinnamon, a handful of chopped nuts, or swap honey for maple syrup.
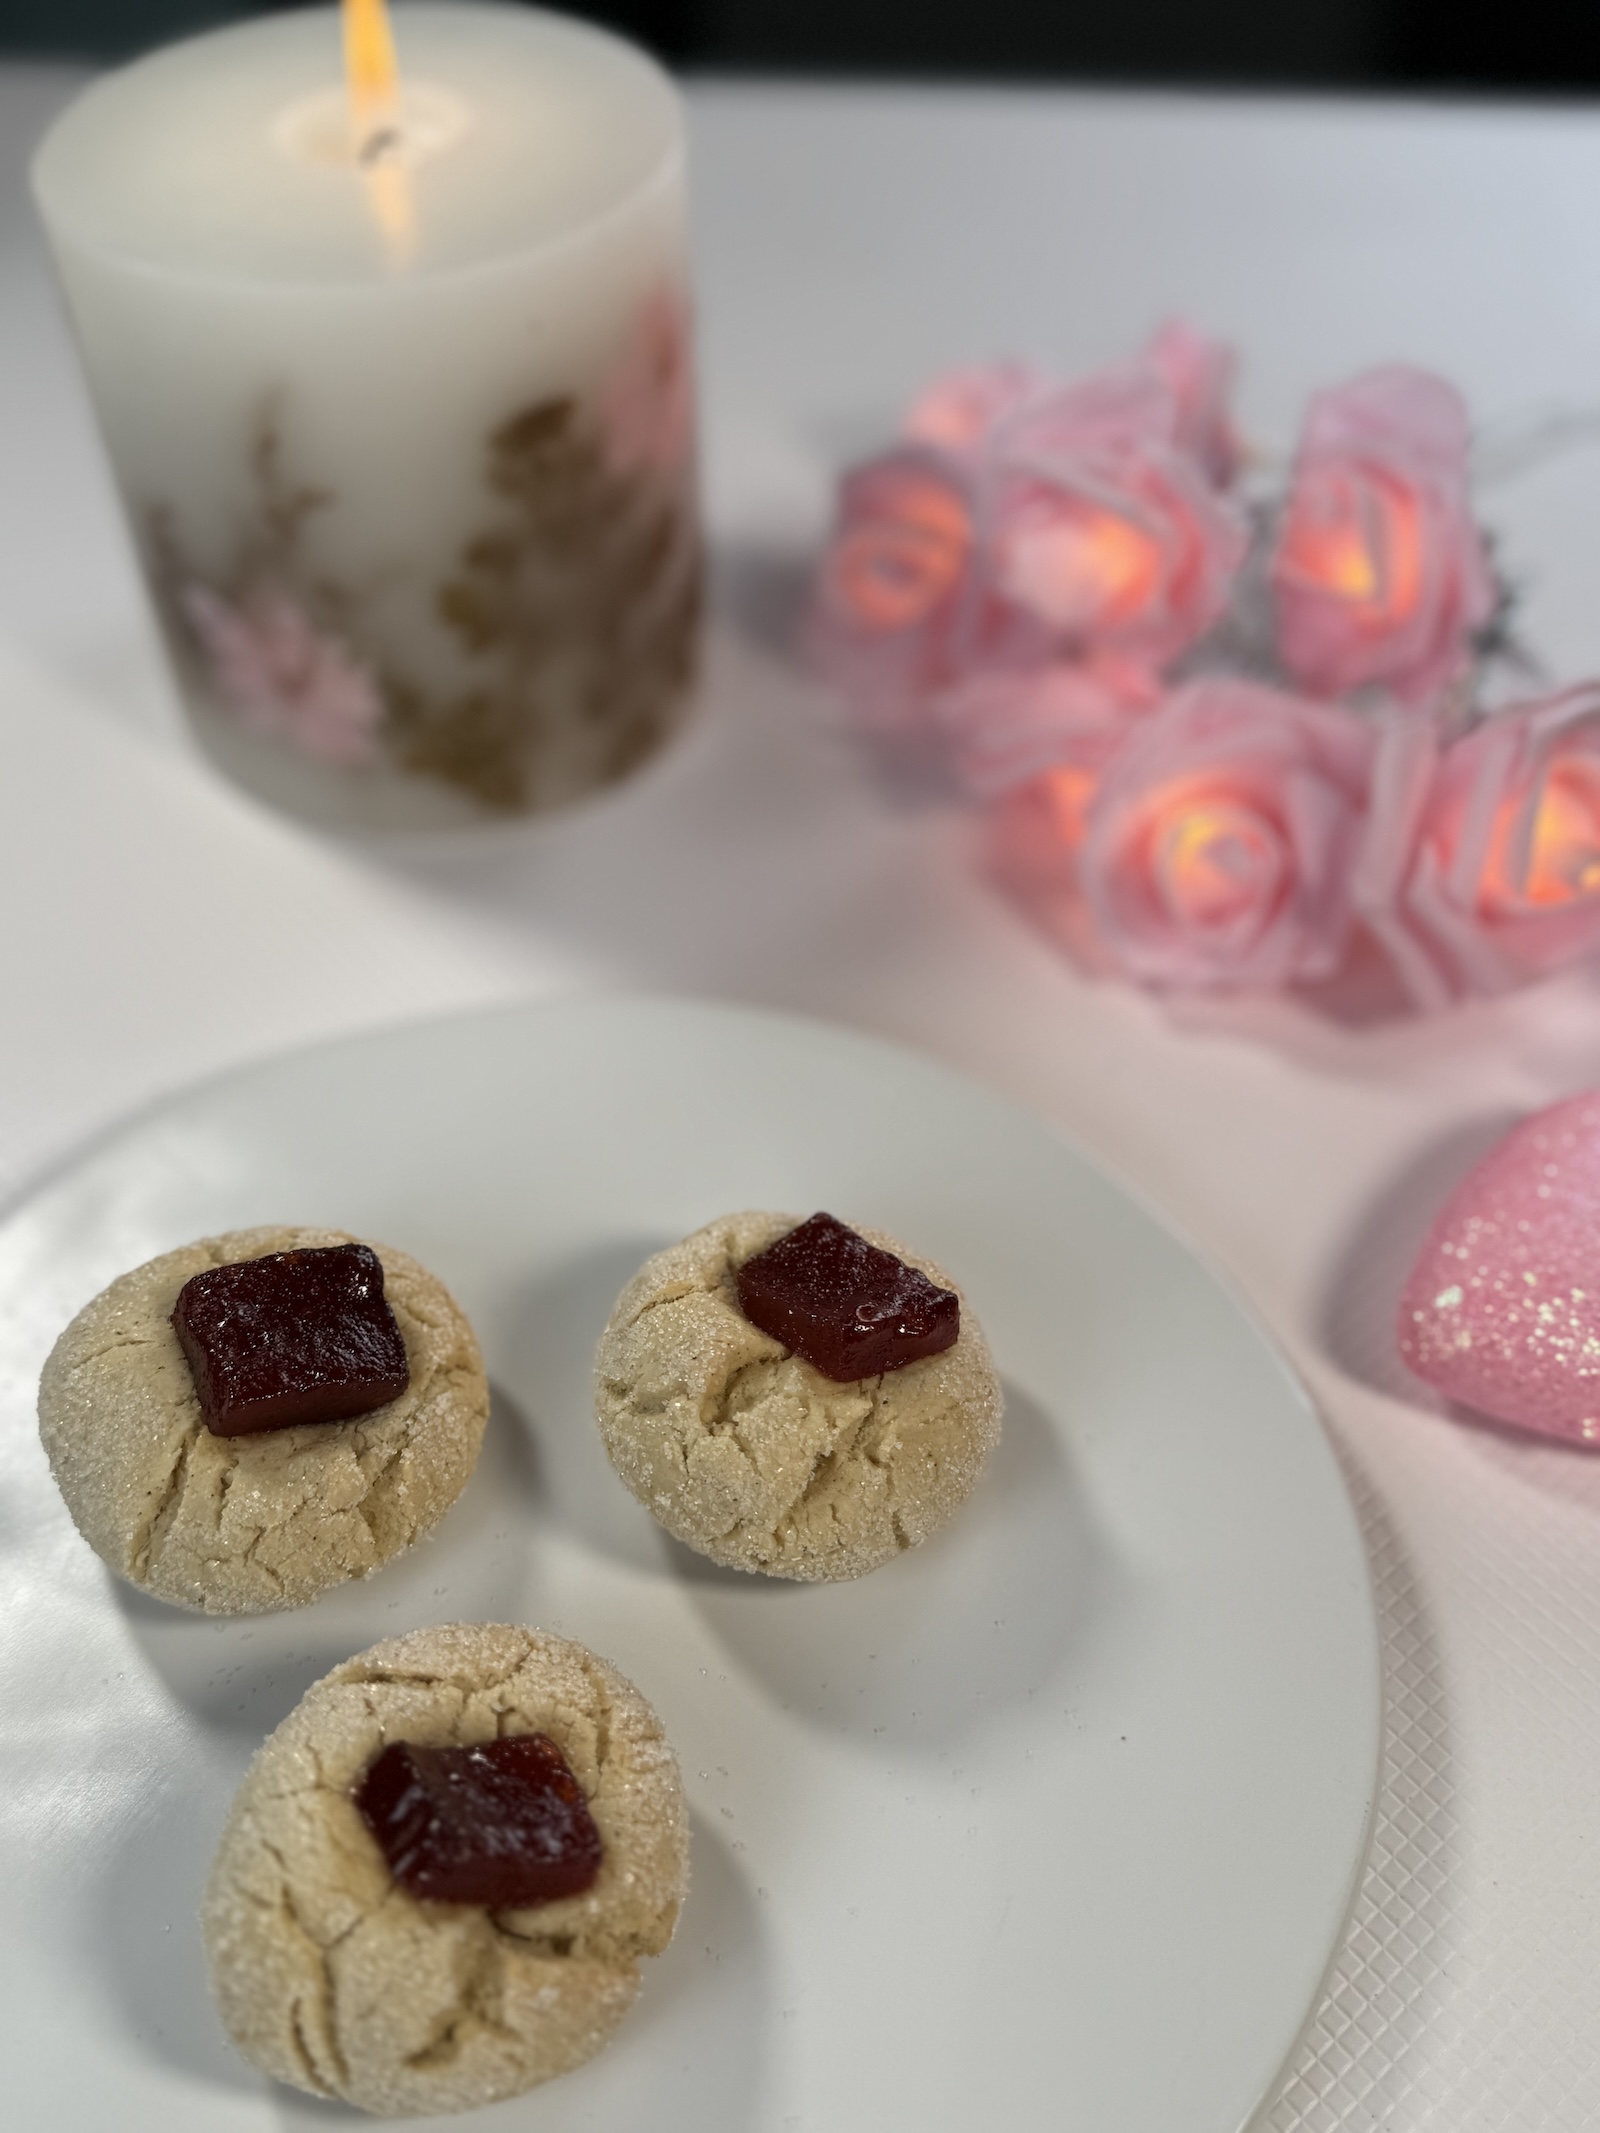
Gluten-Free Guava Cheese Cookies
Ingredients:
2 cups gluten-free flour
6 tablespoons sugar
3 eggs
3 tablespoons butter (softened)
1 tablespoon baking powder
Guava cheese (cut into small squares)
Granulated sugar (for coating)
Instructions:
Preheat the oven to 350°F (175°C).
Prepare the Dough:
In a bowl, beat the eggs, then add the sugar and mix well.
Stir in the softened butter until well combined.
Gradually add the gluten-free flour and baking powder, mixing until a smooth dough forms.
Shape the Cookies:
Take small portions of the dough and roll them into balls.
Coat each dough ball lightly in granulated sugar for a sweet, crunchy exterior.
Add the Guava Cheese:
Use your finger to gently press the center of each dough ball, creating a small indent.
Place a pre-cut square of guava cheese in the center.
5. Bake:
Arrange the cookies on a lined baking sheet and bake for 15-20 minutes, or until they turn a light golden yellow.
Cool & Enjoy:
Let the cookies cool slightly before serving.
Enjoy them warm or at room temperature!
Tip: These pair perfectly with coffee or tea!
Gluten-Free Nutella Cake
Ingredients:
250g Nutella
4 large eggs
Instructions:
Whip the Eggs:
In a large mixing bowl, beat the whole eggs using an electric mixer for 6 minutes, until they triple in volume and become light and fluffy.
Warm the Nutella:
Heat the Nutella in the microwave for 25 seconds until it becomes slightly softer and easier to mix.
Combine the Ingredients:
Gradually add the beaten eggs to the warm Nutella, a little at a time, while continuously mixing with the electric mixer.
Keep mixing until the batter is smooth and fully combined.
Bake the Cake:
Preheat the oven to 350°C
Pour the batter into a greased or parchment-lined baking pan.
Bake for 30 minutes, or until the cake is set but still slightly gooey in the center.
Cool & Serve:
Let the cake cool slightly before serving.
Enjoy as is, or top with powdered sugar, whipped cream, or fresh berries!
Tips:
For a softer texture, reduce baking time to 15-18 minutes.
You can also bake in ramekins for individual lava cake-style servings.
Enjoy this simple, gluten-free Nutella cake with just two ingredients!
Gluten-Free Natas do Céu

Ingredients
6 large egg yolks
6 tablespoons of water
6 tablespoons of sugar
120g granulated sugar
473ml heavy cream (cold)
1 packet gluten-free cookies (crushed)
Optional: Cinnamon sticks for extra flavor
Instructions
Prepare the Sugar Syrup:
In a non-stick pan, combine 6 tablespoons of sugar and 6 tablespoons of water over medium heat. Stir until the sugar dissolves completely. (Optional: Add cinnamon sticks for extra flavor.)
Let the mixture simmer gently for about 5 minutes to create a light syrup. Remove from heat and let cool completely.
Make the Egg Custard (Doce de Ovos):
In a bowl, pass the egg yolks through a fine mesh sieve to ensure a smooth texture.
Whisk the egg yolks gently until fully combined.
Slowly pour the cooled sugar syrup into the yolks while whisking continuously to prevent curdling.
Return the mixture to the pan and cook on low heat, stirring constantly, until it thickens into a smooth custard (do not let it boil to avoid scrambling the eggs).
Once thickened, transfer the custard to a bowl and let it cool completely.
Prepare the Crushed Cookies:
Place the gluten-free cookies in a plastic bag or between two sheets of parchment paper. Use a rolling pin to crush them into fine crumbs.
Alternatively, pulse the cookies in a food processor until they reach a sandy consistency.
Whip the Cream:
In a large bowl, whip the cold heavy cream and 120g of sugar until soft peaks form. Be careful not to overwhip.
Assemble the Layers:
In individual serving glasses or a large dish, sprinkle a layer of crushed gluten-free cookies to form the base.
Spoon or pipe a thick layer of whipped cream over the cookie crumbs and repeat the process twice, alternating layers of cookies and whipped cream.
Cover the dessert and place it in the freezer for 30 minutes to set.
Finish with a drizzle of the egg custard (Doce de Ovos) on top for a beautiful presentation.
Afterward, transfer to the refrigerator and chill for at least 2-3 hours to allow the flavors to meld.
Serve:
Before serving, garnish with a sprinkle of crushed gluten-free cookies or a light dusting of cinnamon for an extra touch of flavor.
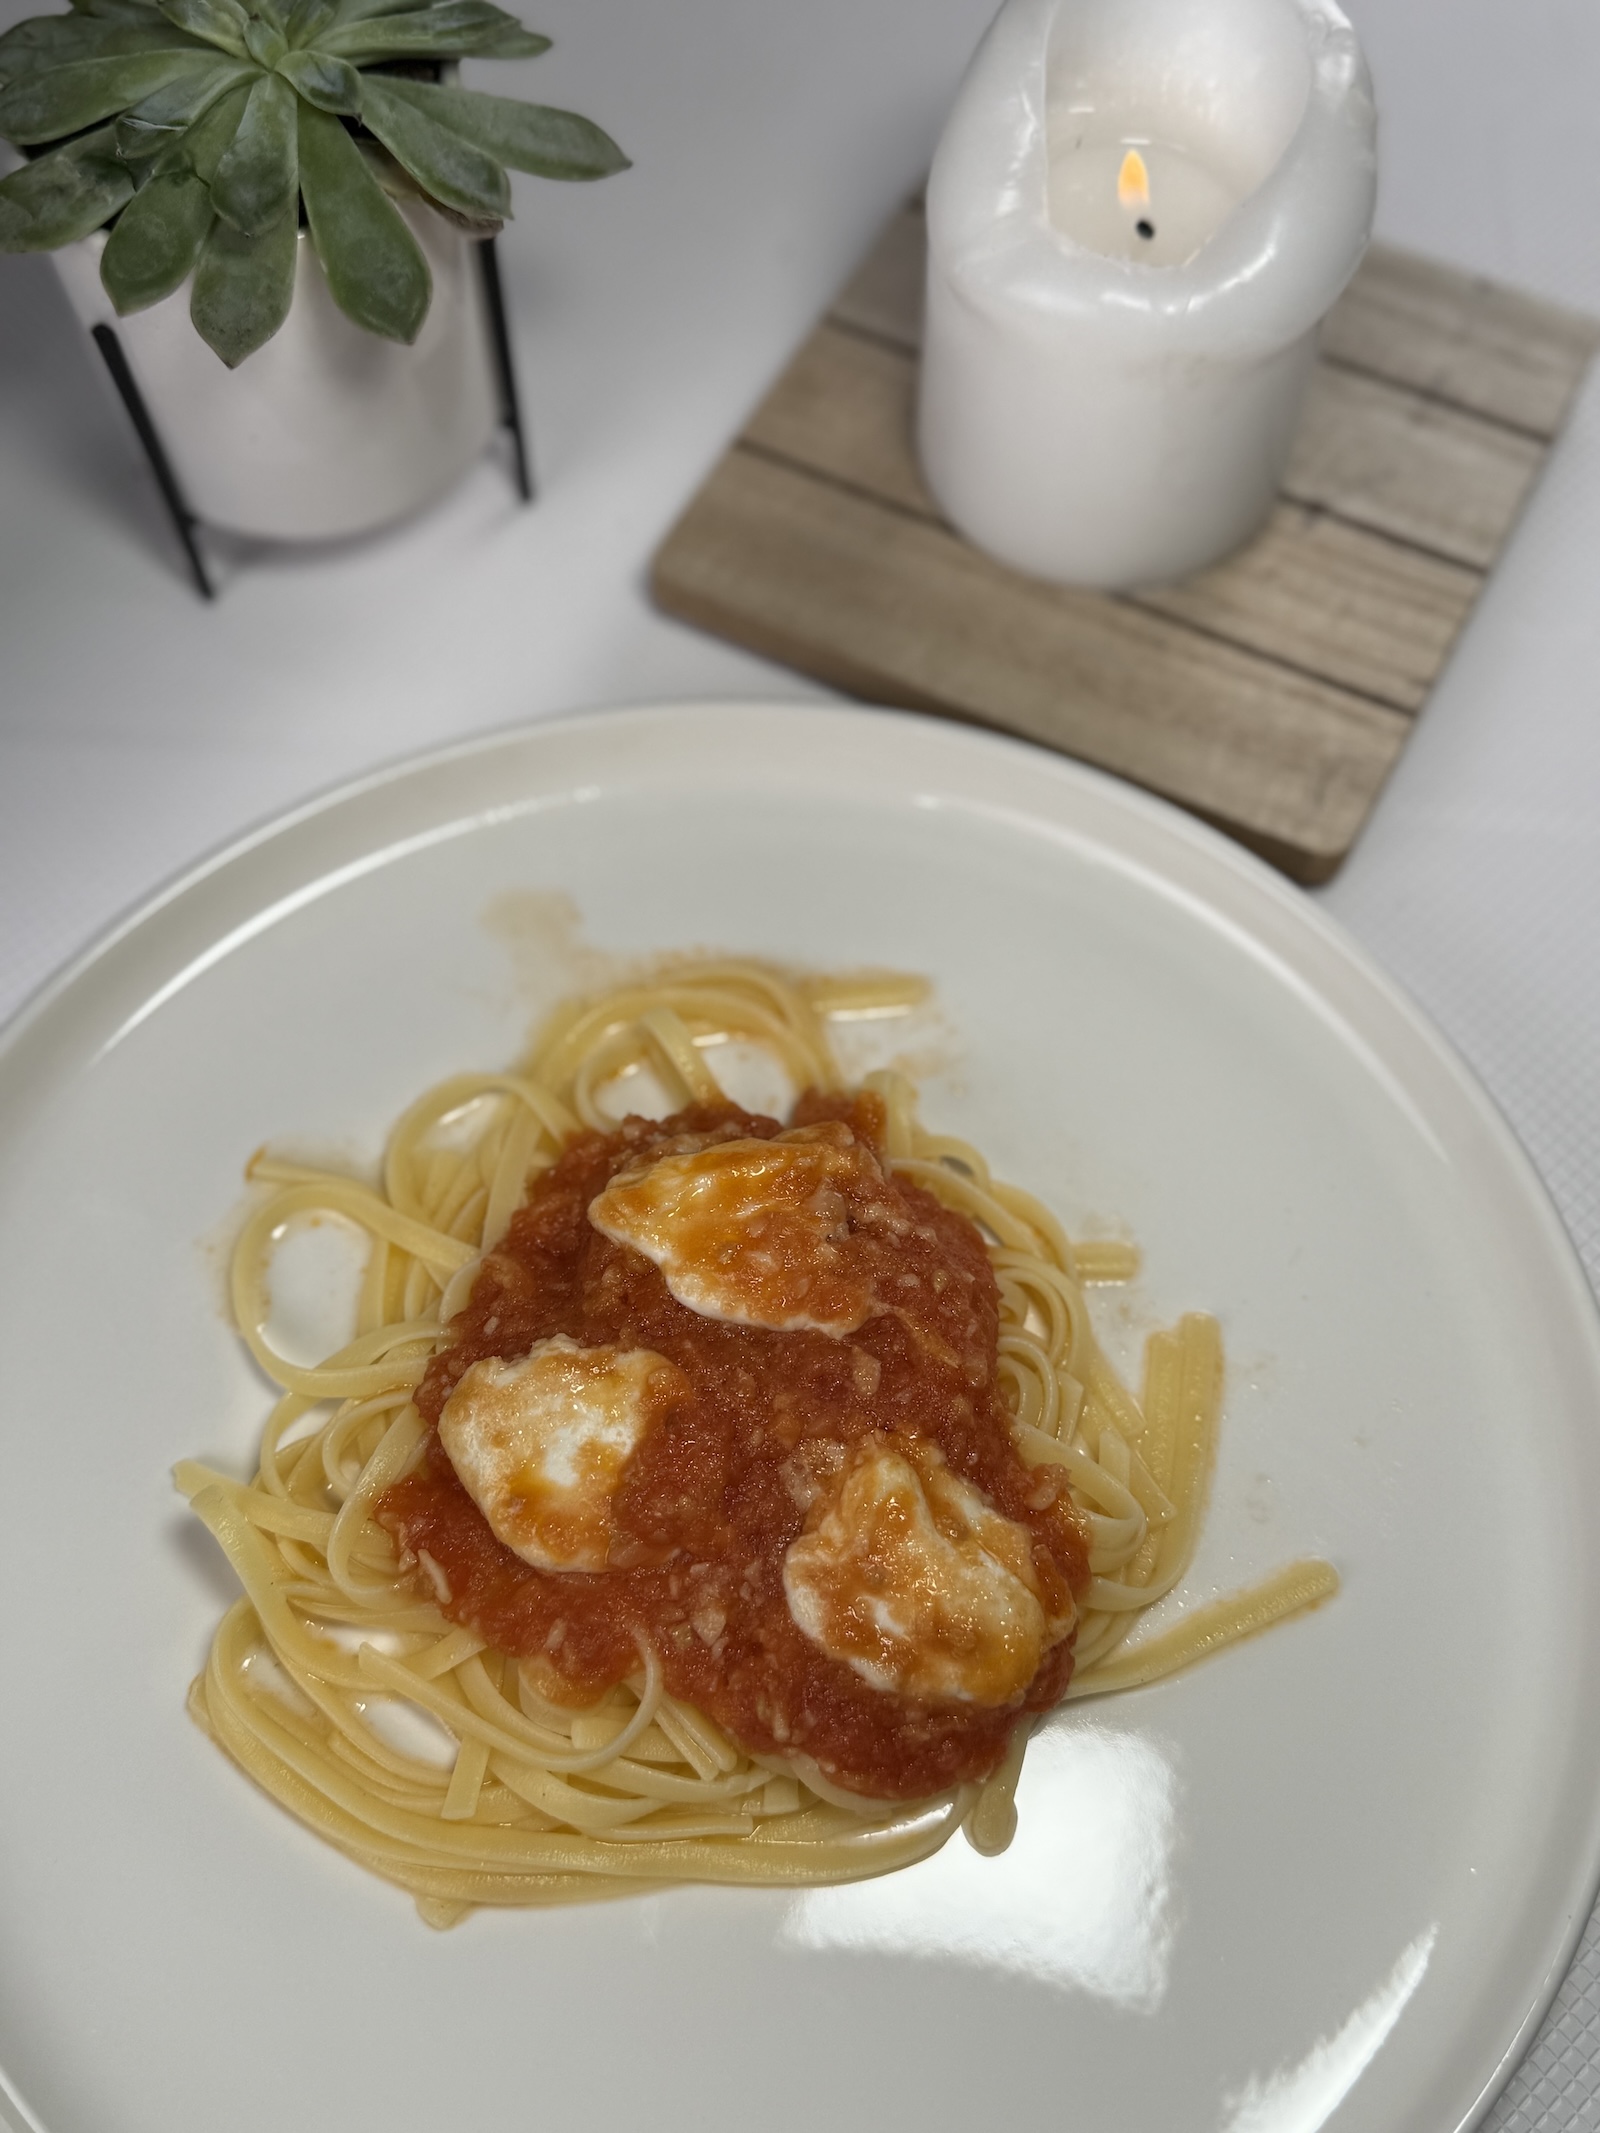
Gluten-Free Spaghetti Mozzarella Magic
Ingredients:
• 250g gluten-free spaghetti
• 2 cups tomato sauce (store-bought or homemade)
• 200g buffalo mozzarella balls (or bocconcini)
• 2 tbsp olive oil
• 6 garlic cloves, minced
• Fresh basil leaves (for garnish optional)
• Salt and pepper to taste
• Optional: Grated Parmesan for serving
Instructions:
1. Cook the Spaghetti
• Bring a large pot of salted water to a boil.
• Add the gluten-free spaghetti, add a bit of olive oil and cook according to package instructions until al dente.
• Drain, rinse with cold water, and set aside.
2. Prepare the Tomato Sauce
• In a large skillet, heat olive oil over medium heat.
• Add minced garlic and sauté until fragrant (about 1 minute).
• Pour in the tomato sauce and season with salt and pepper to taste.
• Let it simmer for 5-7 minutes, stirring occasionally.
4. Add the Buffalo Mozzarella
• Lower the heat to a gentle simmer.
• Place the buffalo mozzarella balls on top of the sauce and cover the skillet with a lid.
• Let it cook for 2-3 minutes, just until the mozzarella softens and becomes gooey.
5. Serve and Garnish
• Plate the spaghetti and tomato mozzarella sauce.
• Garnish with fresh basil leaves and a sprinkle of grated Parmesan if desired.
Tips:
• Use a high-quality tomato sauce for the best flavor, or make your own with fresh tomatoes.
• For extra richness, drizzle a little olive oil over the dish before serving.
Gluten-Free Matcha Latte

Ingredients
1 teaspoon high-quality matcha powder
3/4 cup hot water (not boiling, around 175°F or 80°C)
1/4 cup milk (dairy or non-dairy like almond, oat, or coconut)
1 teaspoon honey (adjust to taste)
1/4 teaspoon pure vanilla extract
Instructions
Prepare the Matcha:
Sift the matcha powder into a small bowl or cup to remove any clumps.
Add the hot water and whisk vigorously using a matcha whisk or a small frother until smooth and frothy.
Warm the Milk:
Heat the milk in a saucepan over medium heat until hot but not boiling.
Optional: Froth the milk using a frother, whisk, or blender for a creamy texture.
Combine Ingredients:
Stir the honey and vanilla extract into the warmed milk until dissolved.
Pour the milk mixture into the prepared matcha.
Serve:
Pour the matcha latte into your favorite mug.
Optional: Garnish with a sprinkle of matcha powder on top for an elegant touch.
Gluten Free Homemade Tomato Sauce
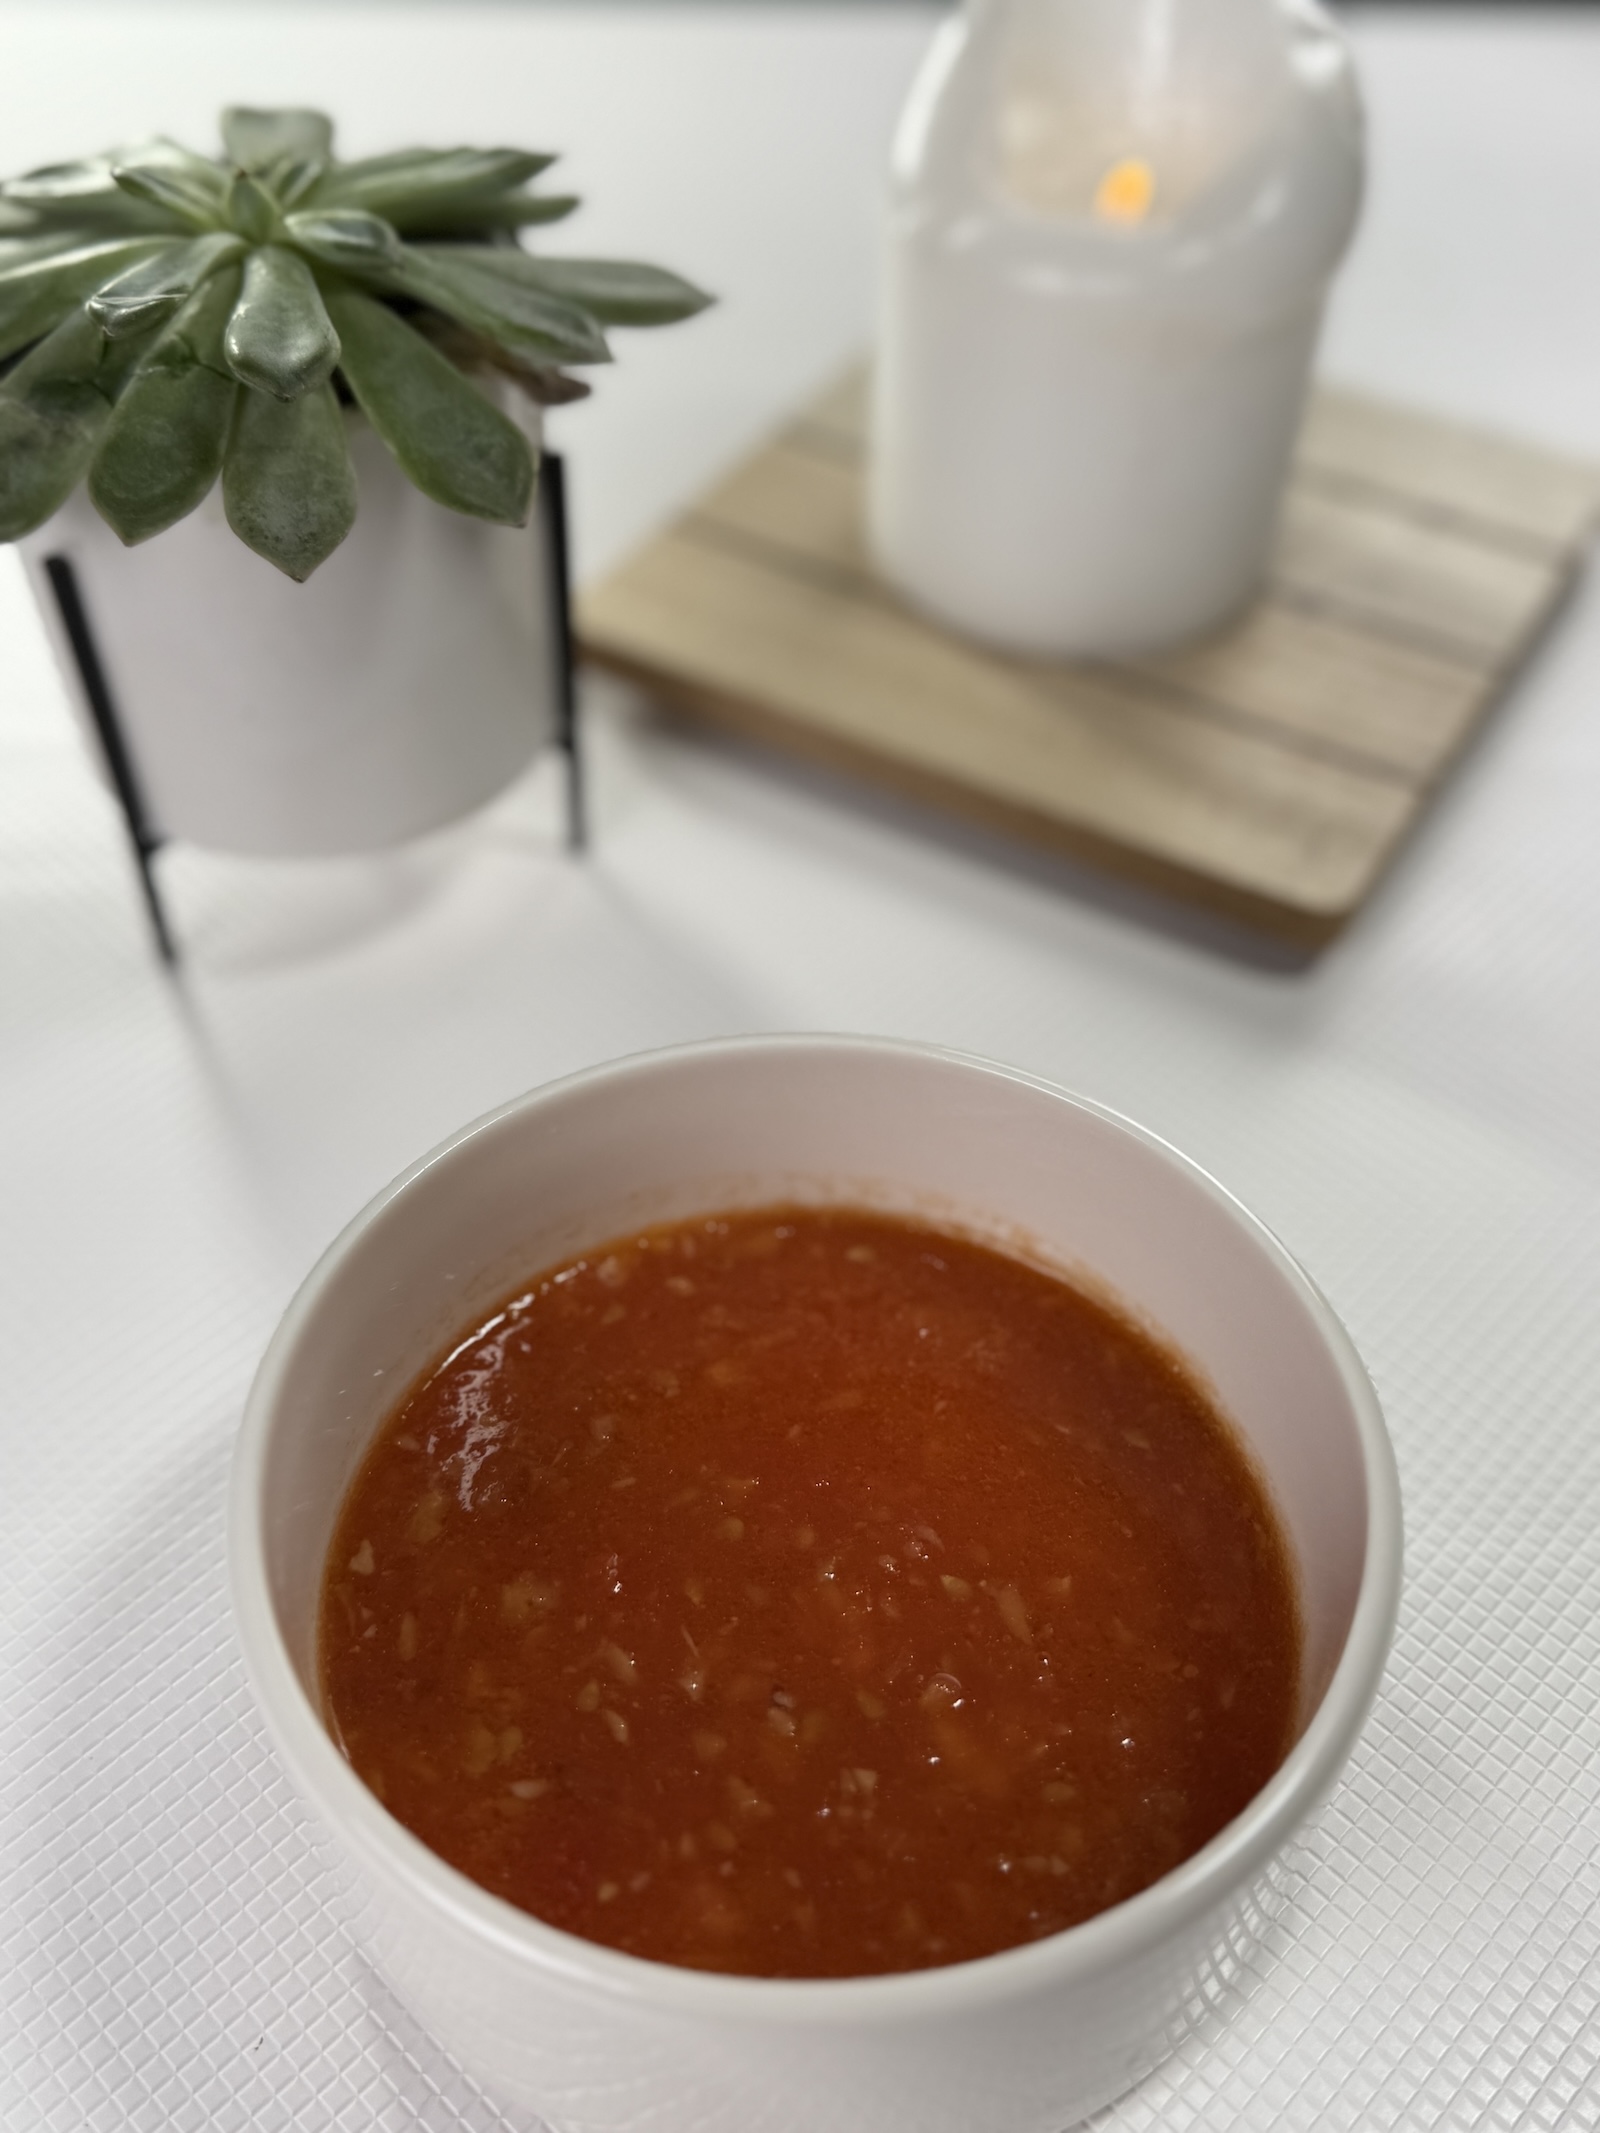
Ingredients:
• 2 lbs fresh tomatoes (Roma or plum tomatoes work best)
• 2 tbsp olive oil
• 1 medium onion, finely chopped
• 6 garlic cloves, minced
• 1 tsp salt (or to taste)
• 1/2 tsp sugar (optional, to balance acidity)
• Fresh basil leaves (optional, for garnish)
Instructions:
1. Prepare the Tomatoes
• Bring a large pot of water to a boil.
• Score a small “X” on the bottom of each tomato with a knife.
• Drop the tomatoes into the boiling water for 5 minutes seconds, then transfer them to a bowl of ice or very cold water.
• Peel the skins off the tomatoes (optional chop them into small pieces, discarding the cores)
•Puree the tomatoes in a blender.
2. Sauté the Aromatics
• Heat olive oil in a large saucepan over medium heat.
• Add the chopped onion and cook until soft and translucent, about 5 minutes.
• Add salt.
• Stir in the minced garlic and sauté for another minute.
• Season with sugar (if needed).
3. Cook the Tomatoes
• Add the blender tomatoes to the saucepan and stir well.
• Bring the mixture to a simmer, then lower the heat and let it cook for 10 ( or less) minutes, stirring occasionally.
4. Taste and Adjust
• Taste the sauce and adjust seasoning as needed. Add more salt or sugar to balance the flavours.
5. Serve or Store
• Use the sauce immediately for pasta, pizza, or any recipe.
• Let it cool completely and store in an airtight container in the refrigerator for up to 5 days or freeze for up to 3 months.
Tips:
• If you prefer a thicker sauce, let it simmer longer to reduce.
• Fresh basil stirred in at the end adds a lovely touch of flavor.
Gluten-Free Mushroom Pasta
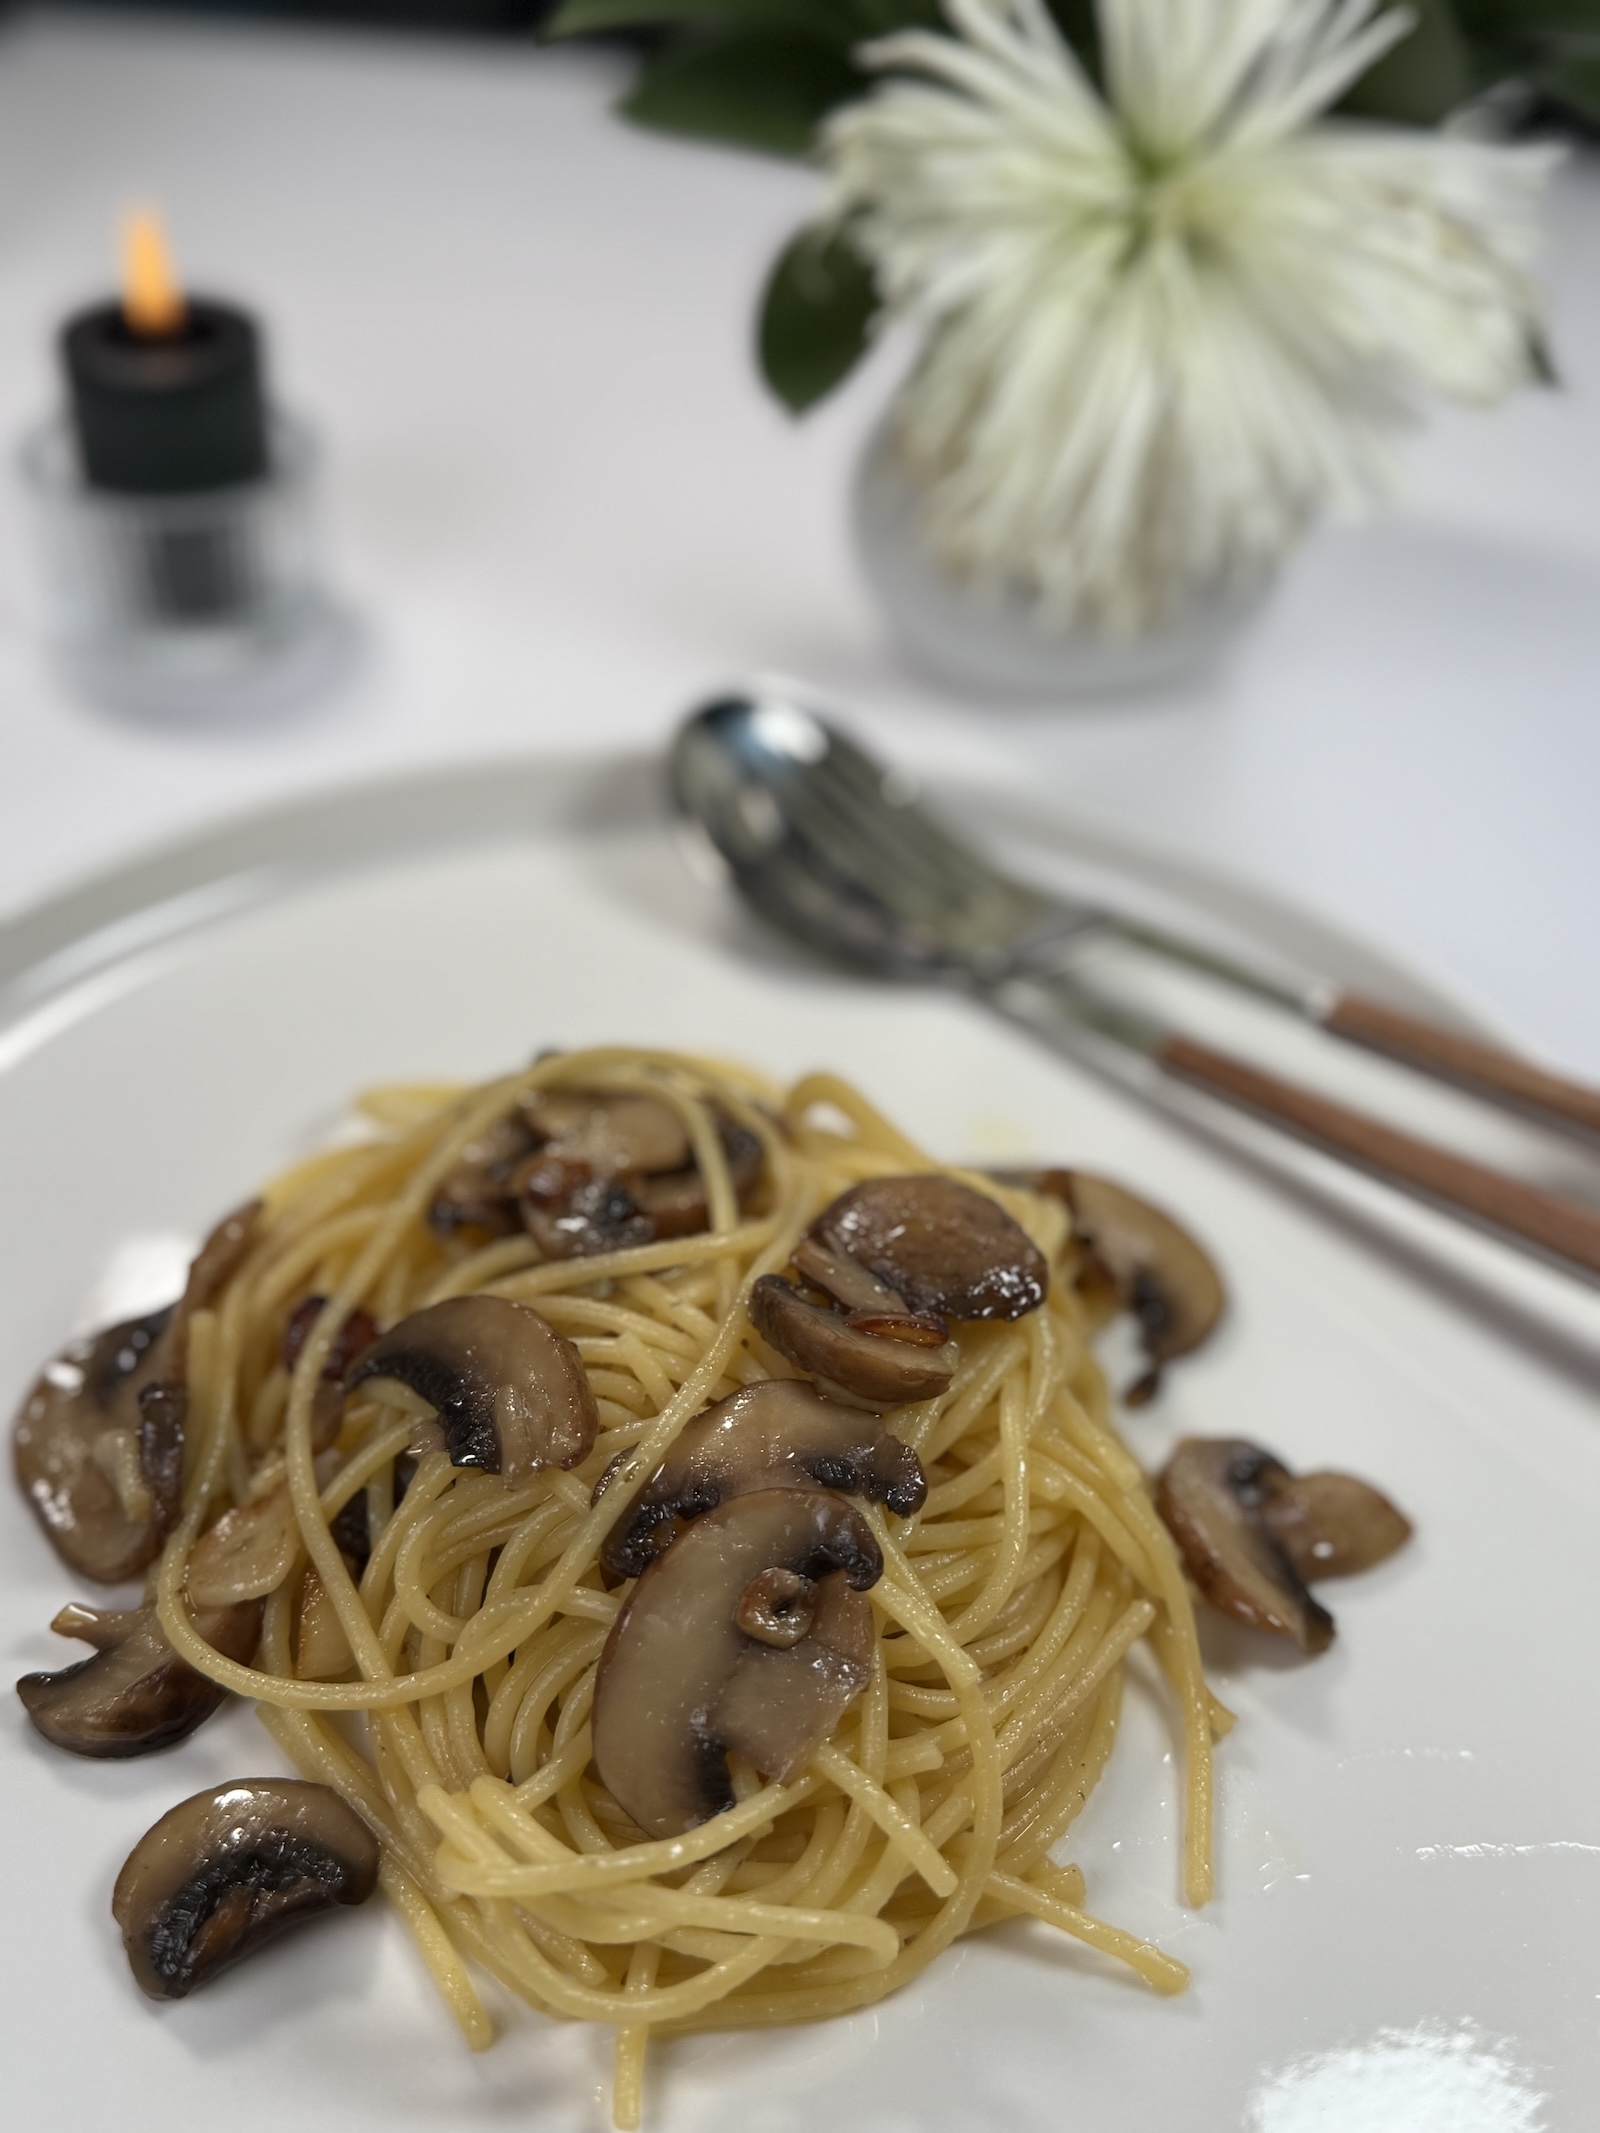
Ingredients (Serves 2-3)
200g gluten-free pasta (spaghetti, penne, or your favorite type)
2 tablespoons olive oil
1/2 teaspoon salt (plus more for boiling pasta)
2-3 cloves garlic, minced
200g mushrooms (button, cremini, or your choice), sliced
Instructions
Cook the Pasta:
Bring a large pot of salted water to a boil.
Add the gluten-free pasta and a drizzle of olive oil, then cook according to the package instructions until al dente.
Reserve 1/4 cup of pasta water, then drain the pasta and set it aside.
Prepare the Mushroom Sauce:
Heat 2 tablespoons of olive oil in a large skillet over medium heat.
Add the minced garlic and sauté for about 1 minute, until fragrant (be careful not to let it brown).
Add the sliced mushrooms, sprinkle with salt, and sauté for 5-7 minutes, stirring occasionally, until the mushrooms are golden and tender.
Combine Pasta and Sauce:
Add the cooked pasta to the skillet with the mushrooms.
Gradually pour in the reserved pasta water (a little at a time) to help coat the pasta and create a light sauce.
Toss everything together until well combined and adjust seasoning with more salt if needed.
Serve:
Transfer the pasta to individual plates or a serving dish.
Drizzle with a little extra olive oil if desired.
Garnish with fresh parsley or gluten-free grated Parmesan for added flavor.
Gluten Free Salad Dressing
Ingredients:
• 4 tablespoons olive oil (extra virgin for best flavor)
• 2 tablespoons of gluten-free soy sauce
• 1 tablespoon of gluten-free rice vinegar or lemon juice
• 1 teaspoon honey or maple syrup (optional, for a touch of sweetness)
• 1 small clove garlic, finely minced (optional)
• Freshly ground black pepper, to taste
Instructions:
1. In a small bowl or jar, whisk together the olive oil and soy sauce until well combined.
2. Add the rice vinegar (or lemon juice) and mix.
3. If using, stir in the honey or maple syrup for a balanced sweetness.
4. Optional: Add minced garlic and a pinch of black pepper for extra flavor.
5. Taste and adjust seasonings as desired.
6. Drizzle over your favorite salad and enjoy!
This dressing pairs well with green salads, grain bowls, or roasted vegetables.
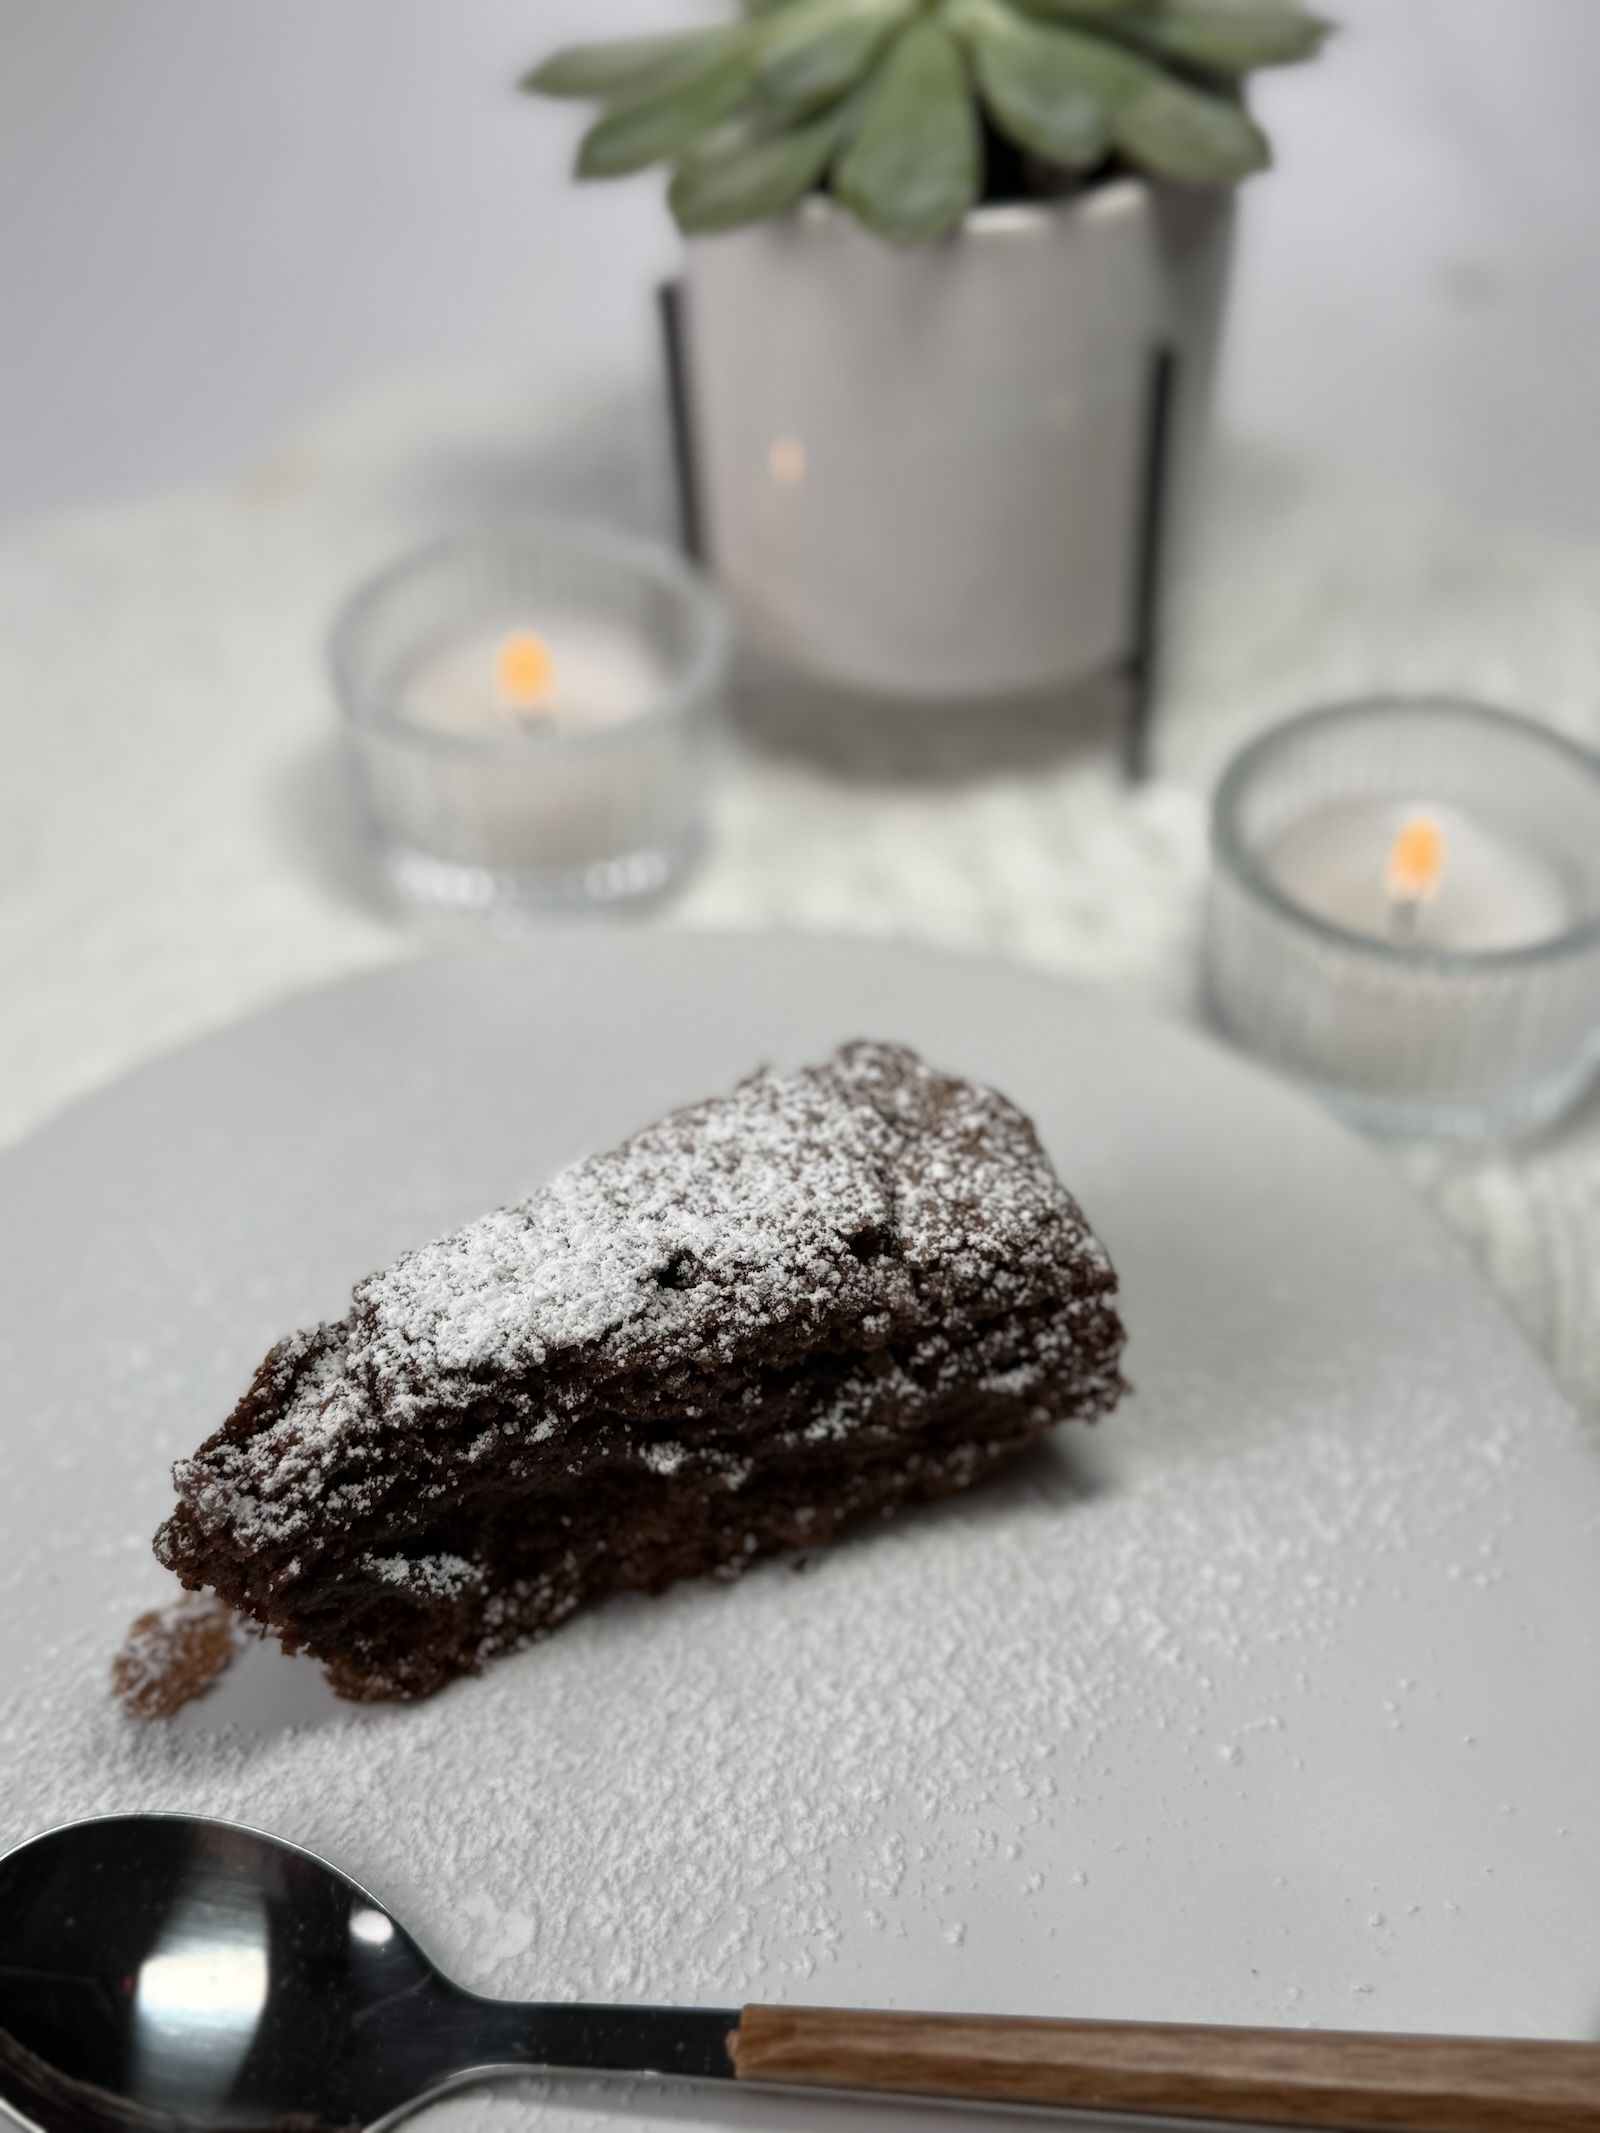
Gluten-Free Brownies
Ingredients
1/2 cup unsalted butter, melted
3/4 cup granulated sugar
1/2 cup brown sugar
2 large eggs
1 tablespoon pure vanilla extract
3/4 cup all-purpose gluten-free flour
1/2 cup cocoa powder
1/2 teaspoon baking soda
1/2 teaspoon salt
Optional: Icing sugar for dusting
Instructions
Preheat the Oven:
Preheat your oven to 350°F (175°C).
Prepare a baking pan (8x8-inch recommended) by spraying with gluten-free non-stick cooking spray or lining it with parchment paper. Coat the paper with additional spray or butter.
Mix Wet Ingredients:
In a large bowl, combine the melted butter, vanilla extract, granulated sugar, and brown sugar. Mix until fully combined.
Add the eggs one at a time, mixing well after each addition.
Combine Dry Ingredients:
In a separate medium-sized bowl, whisk together the gluten-free flour, cocoa powder, baking soda, and salt.
Combine Wet and Dry Mixtures:
Gradually add the dry ingredients to the wet ingredients, mixing until the batter is fully combined and smooth.
Bake the Brownies:
Pour the brownie batter into the prepared pan and spread evenly.
Bake for 20-25 minutes, or until a toothpick inserted in the center comes out just barely clean. The edges will start to pull away from the pan. Keep a close eye on the brownies, as baking times can vary depending on your oven.
Cool and Serve:
Remove the brownies from the oven and let them cool completely in the pan.
Dust with icing sugar for an elegant finishing touch, if desired.
Slice into squares and enjoy!
Storage Tips:
Store leftovers in an airtight container at room temperature for up to 3 days or in the refrigerator for up to 5 days.
Enjoy your rich, fudgy gluten-free brownies with or without that sweet dusting of icing sugar!
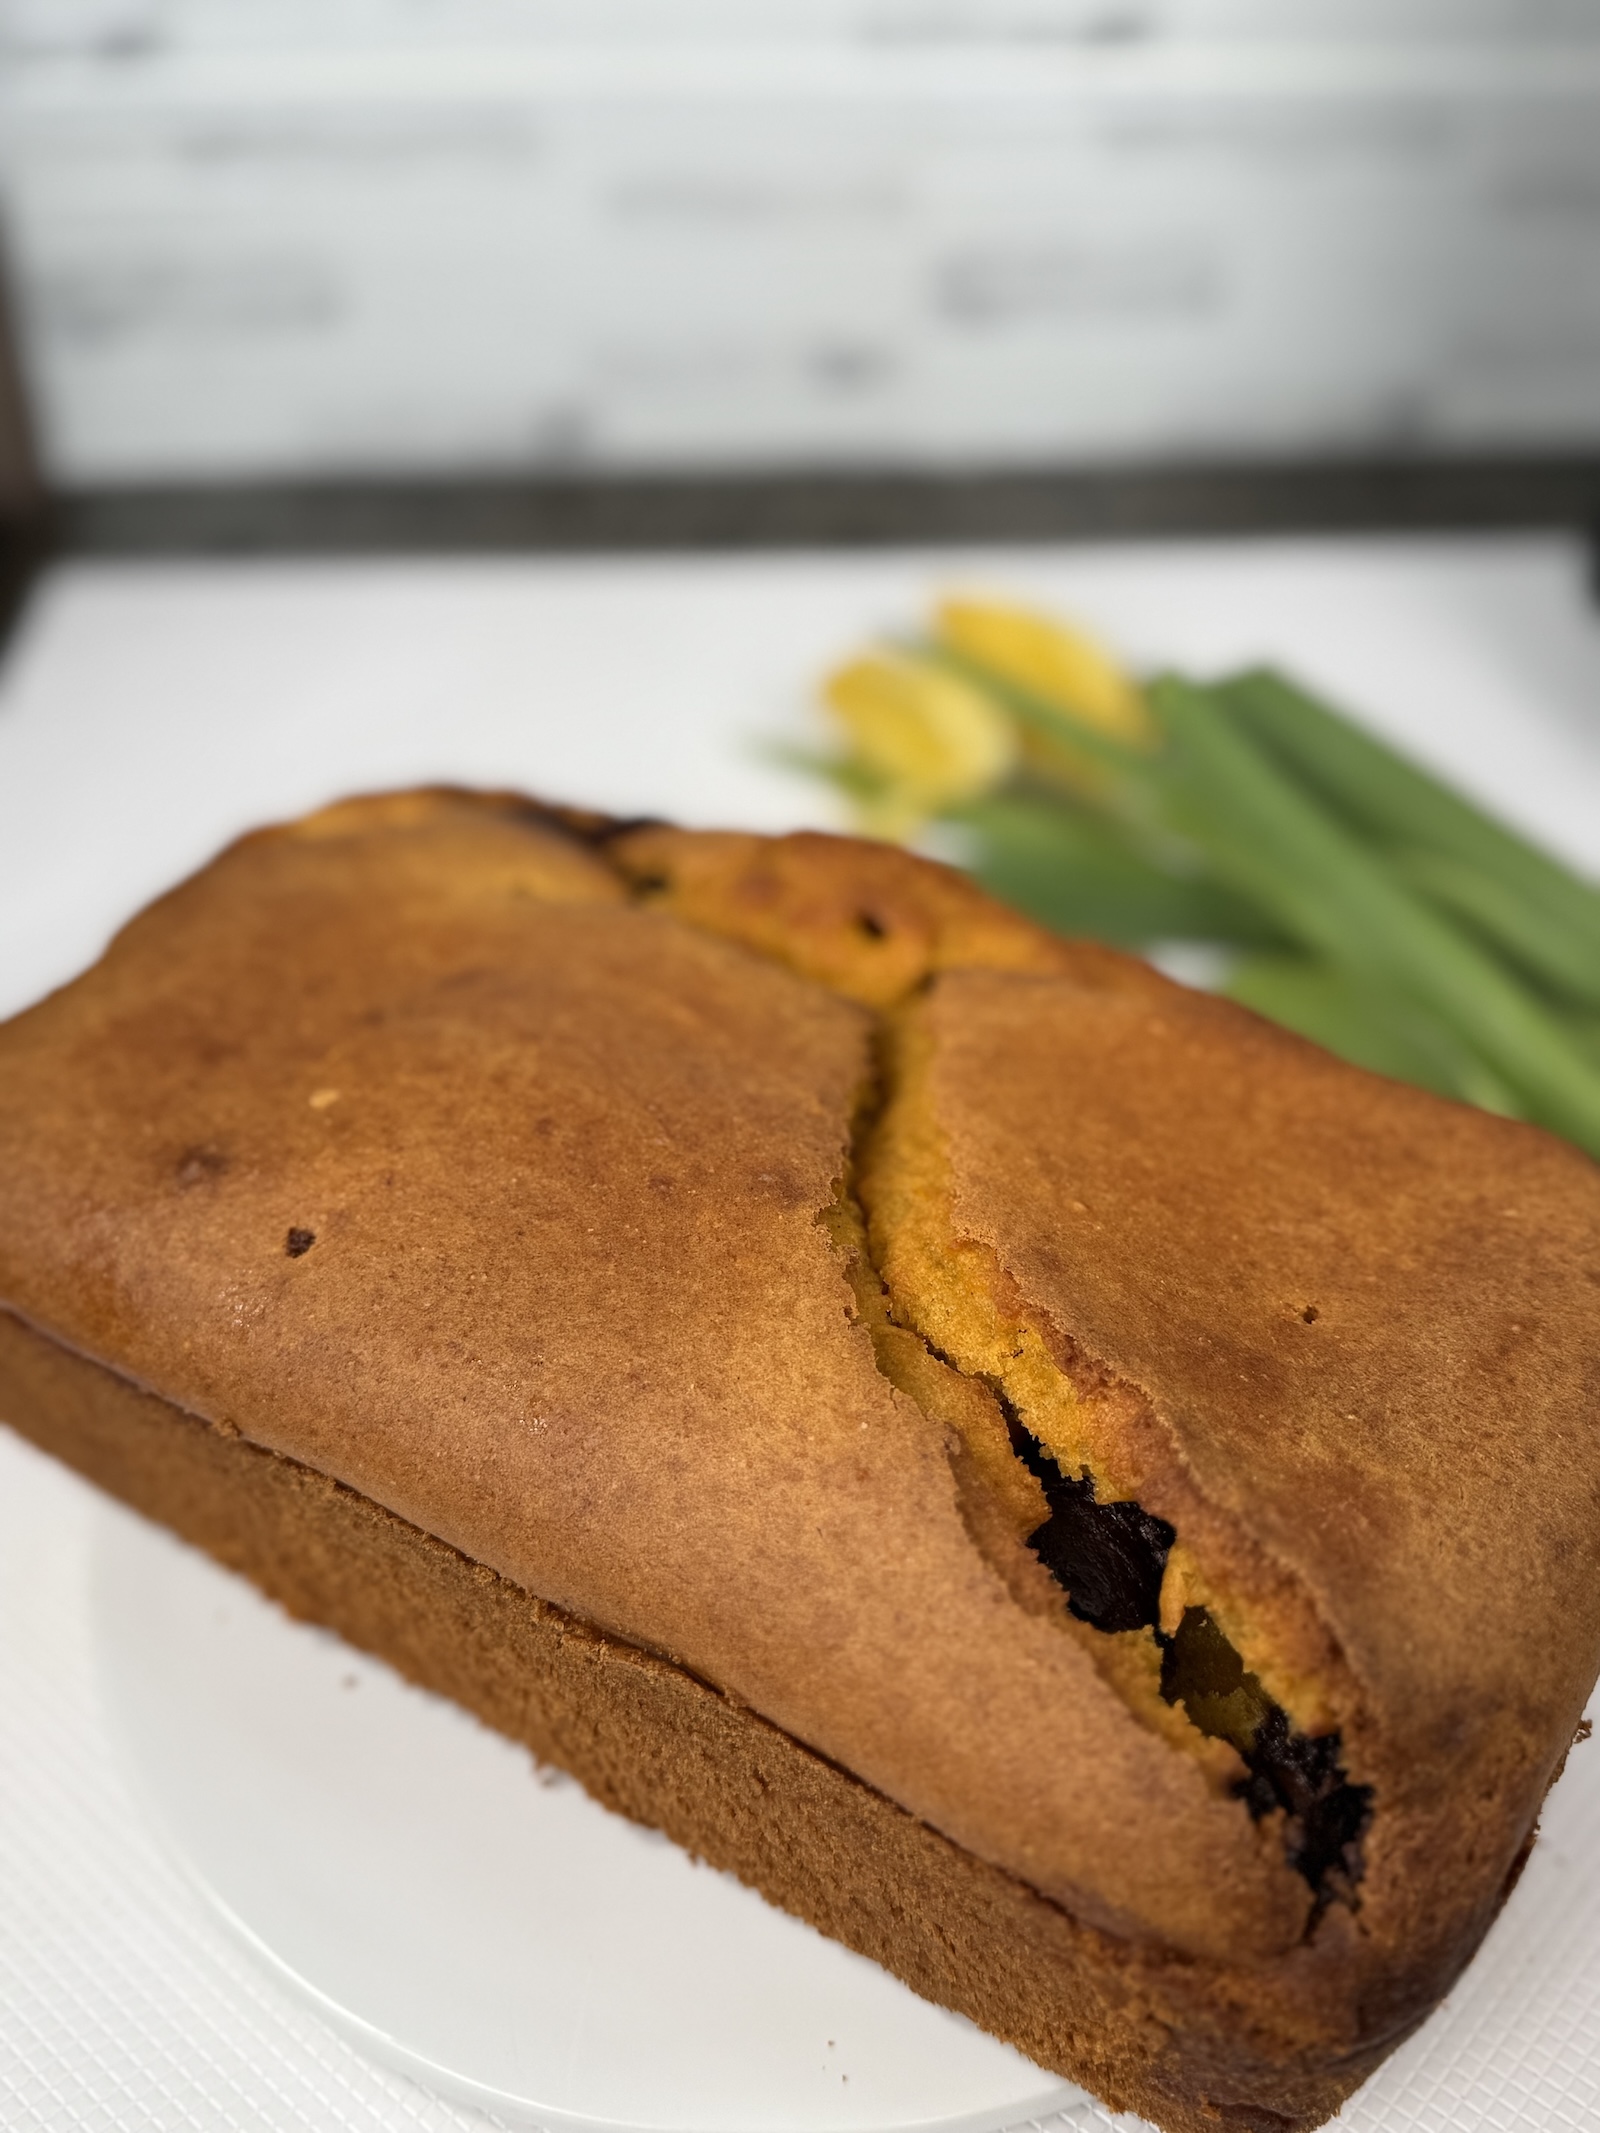
Gluten-free Banana Bread
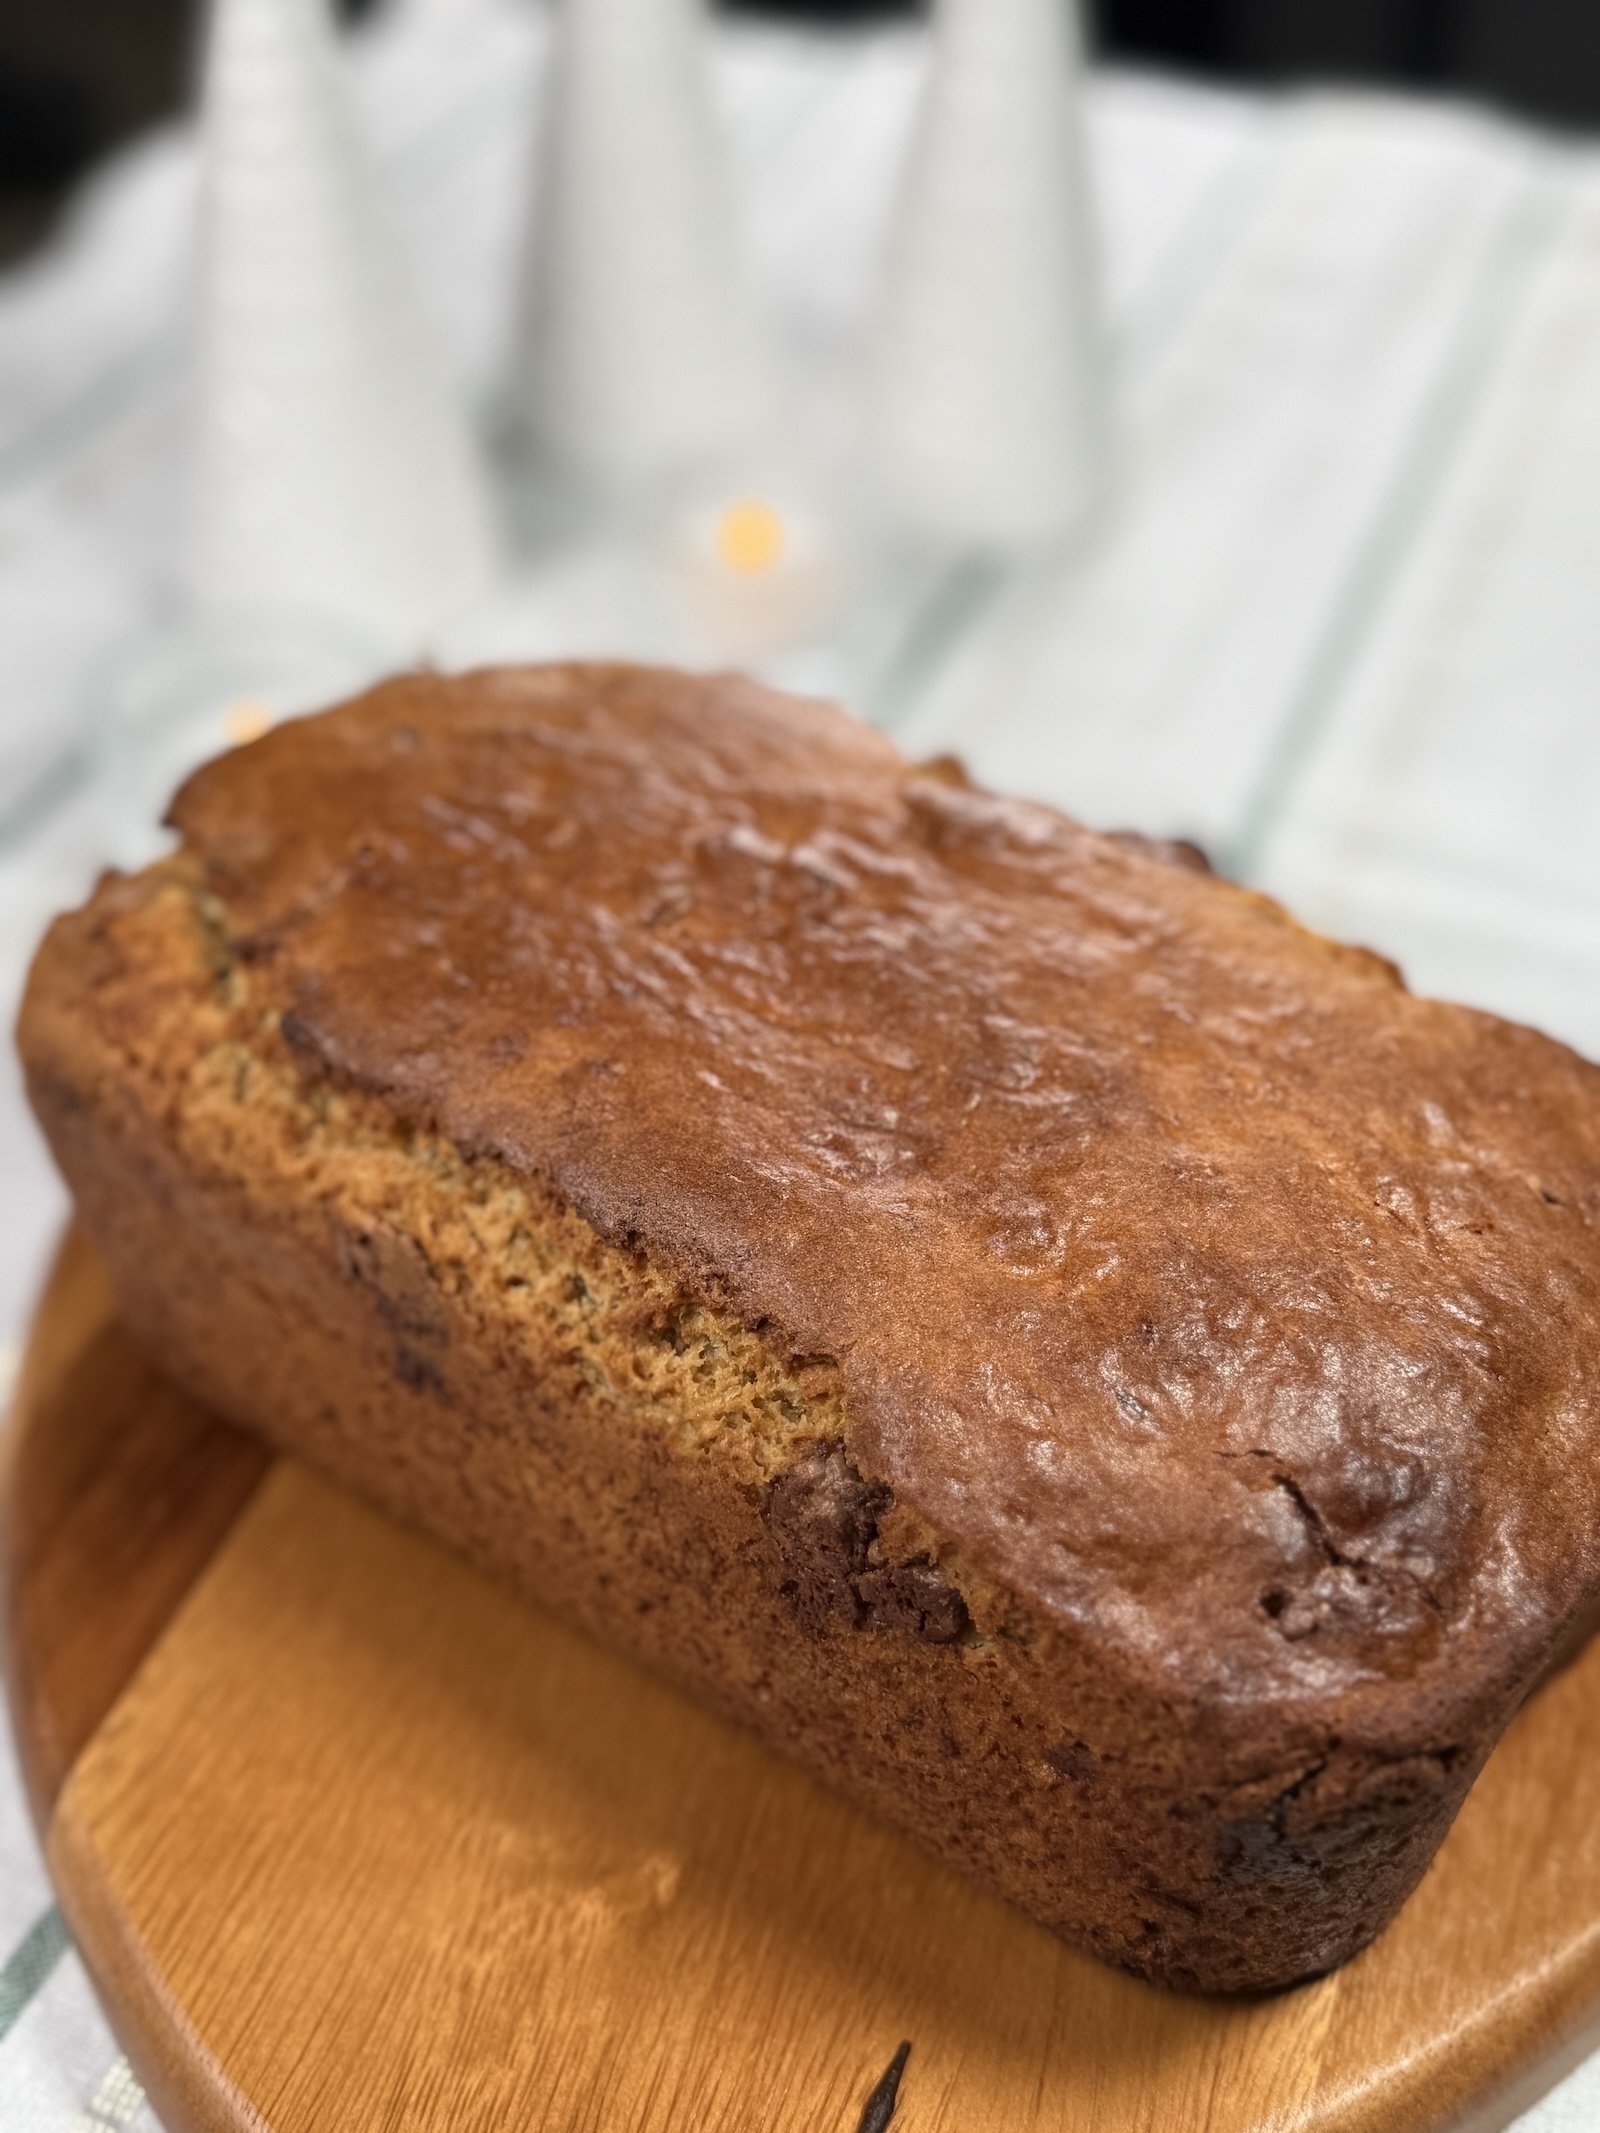
Gluten-Free Banana Bread Recipe
Ingredients
2-3 very ripe bananas, mashed
1 teaspoon baking soda
1/3 cup unsalted butter, melted
3/4 cup granulated sugar
Pinch of salt
2 large eggs, beaten
1 teaspoon pure vanilla extract
1 1/2 cups gluten-free all-purpose flour (with xanthan gum)
1/4 teaspoon xanthan gum (omit if your flour already includes it)
Instructions
Prepare the Oven and Pan:
Preheat your oven to 350°F (175°C).
Spray a 4x8-inch loaf pan with cooking spray or line it with parchment paper.
Mash the Bananas:
In a mixing bowl, mash the ripe bananas until smooth.
Combine the Wet Ingredients:
Mix in the melted butter until well combined.
Stir in the sugar, salt, beaten eggs, and vanilla extract.
Add the Dry Ingredients:
Gently fold in the gluten-free flour and baking powder.
Pour and Bake:
Pour the batter into the prepared loaf pan.
Place on the center rack of the oven and bake for 40 minutes to 1 hour, or until a toothpick inserted in the center comes out clean.
Keep an eye on the bread as baking times can vary with different ovens.
Cool and Slice:
Remove from the oven and let the bread cool in the pan for about 10 minutes.
Transfer to a wire rack to cool completely before slicing.
Notes
For extra texture, you can add chopped nuts, chocolate chips, or dried fruit.
The bread can be stored at room temperature for up to 2 days, refrigerated for up to 5 days, or frozen for longer storage.
Enjoy your moist and fluffy gluten-free banana bread!